Creating a potting shed sign
I’ve recently purchased a wood burning engraving tool or pen for sign writing, which I’ve been using to create rustic plant labels for my kitchen garden. I love these sorts of personal touches on allotments and gardens, as it immediately lifts an outdoor space, makes it looks like time and effort has gone into caring for it and apart from anything else, helps me remember what I’m growing where. The beauty of burning the letters onto wood, is that it doesn’t wear off a few months later, unlike paint and chalk pens which can eventually fade.
You Will Need:
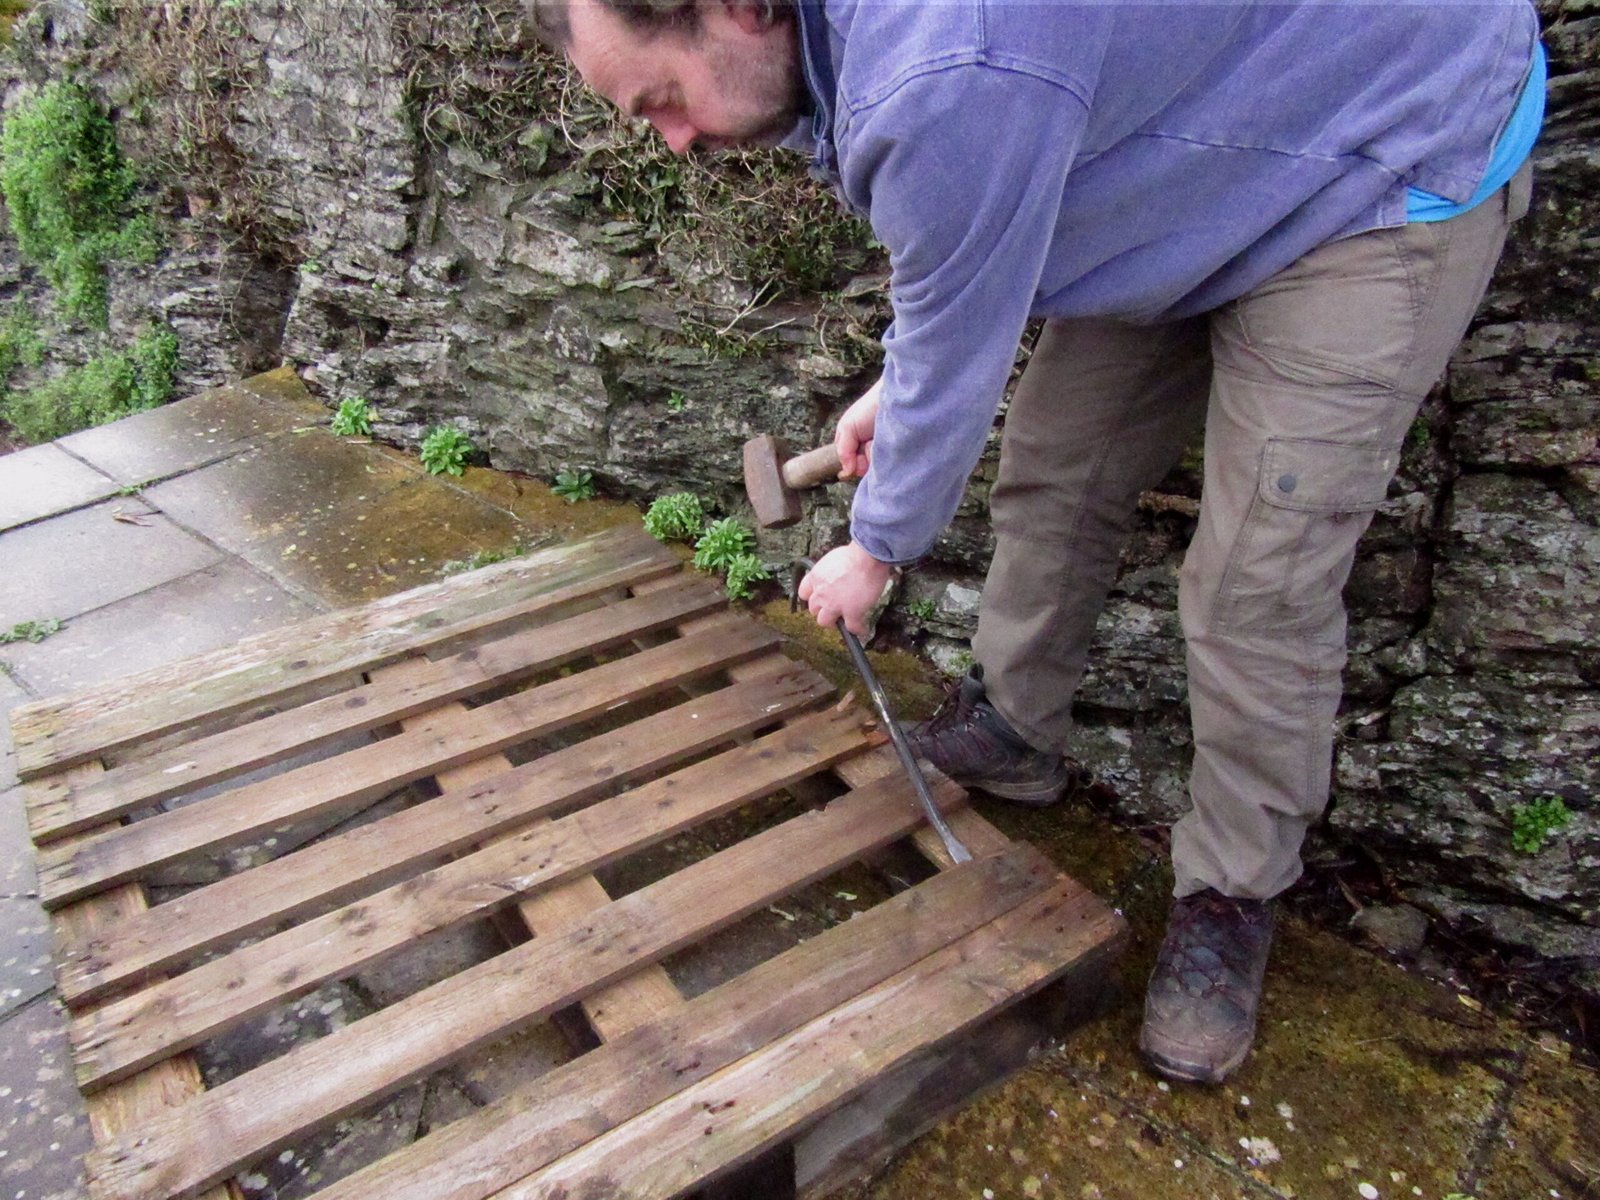
Step One
Step Two
Trim off any damaged ends with a saw and cut it to suitable size that will suit the location you’re going to place it. I cut mine to 72cm long.
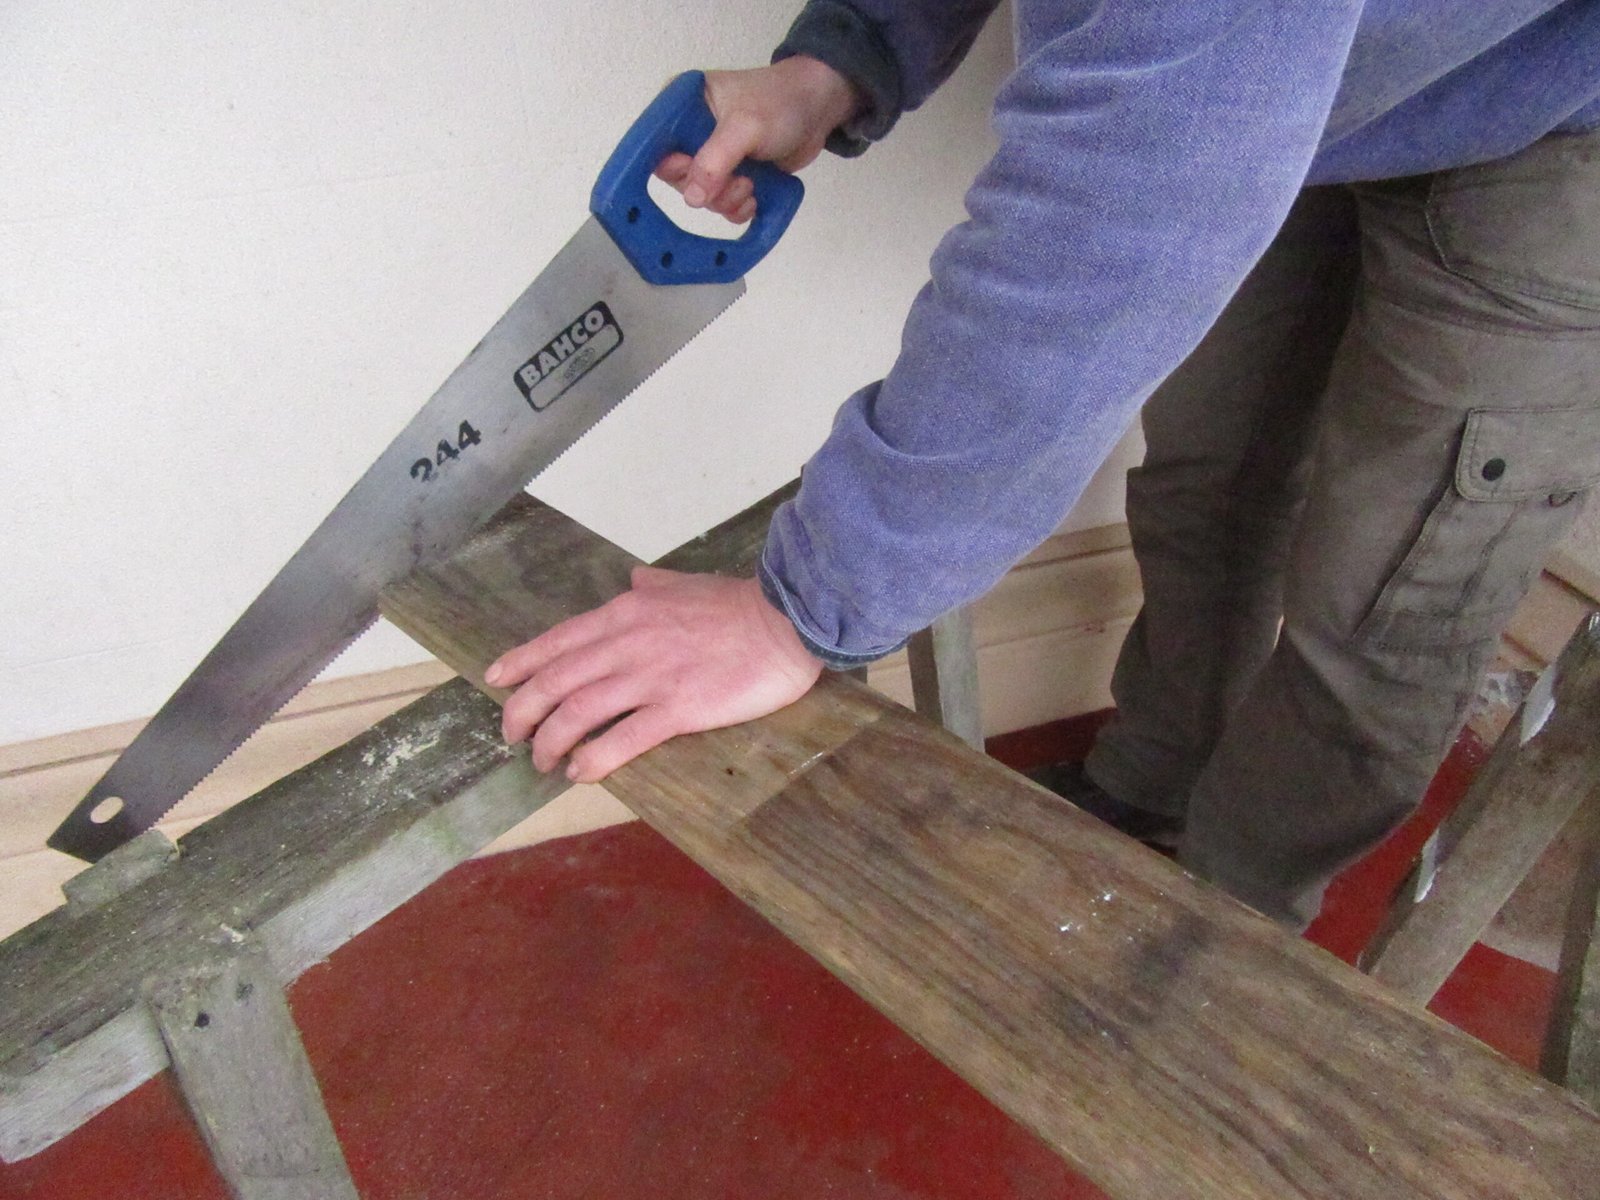
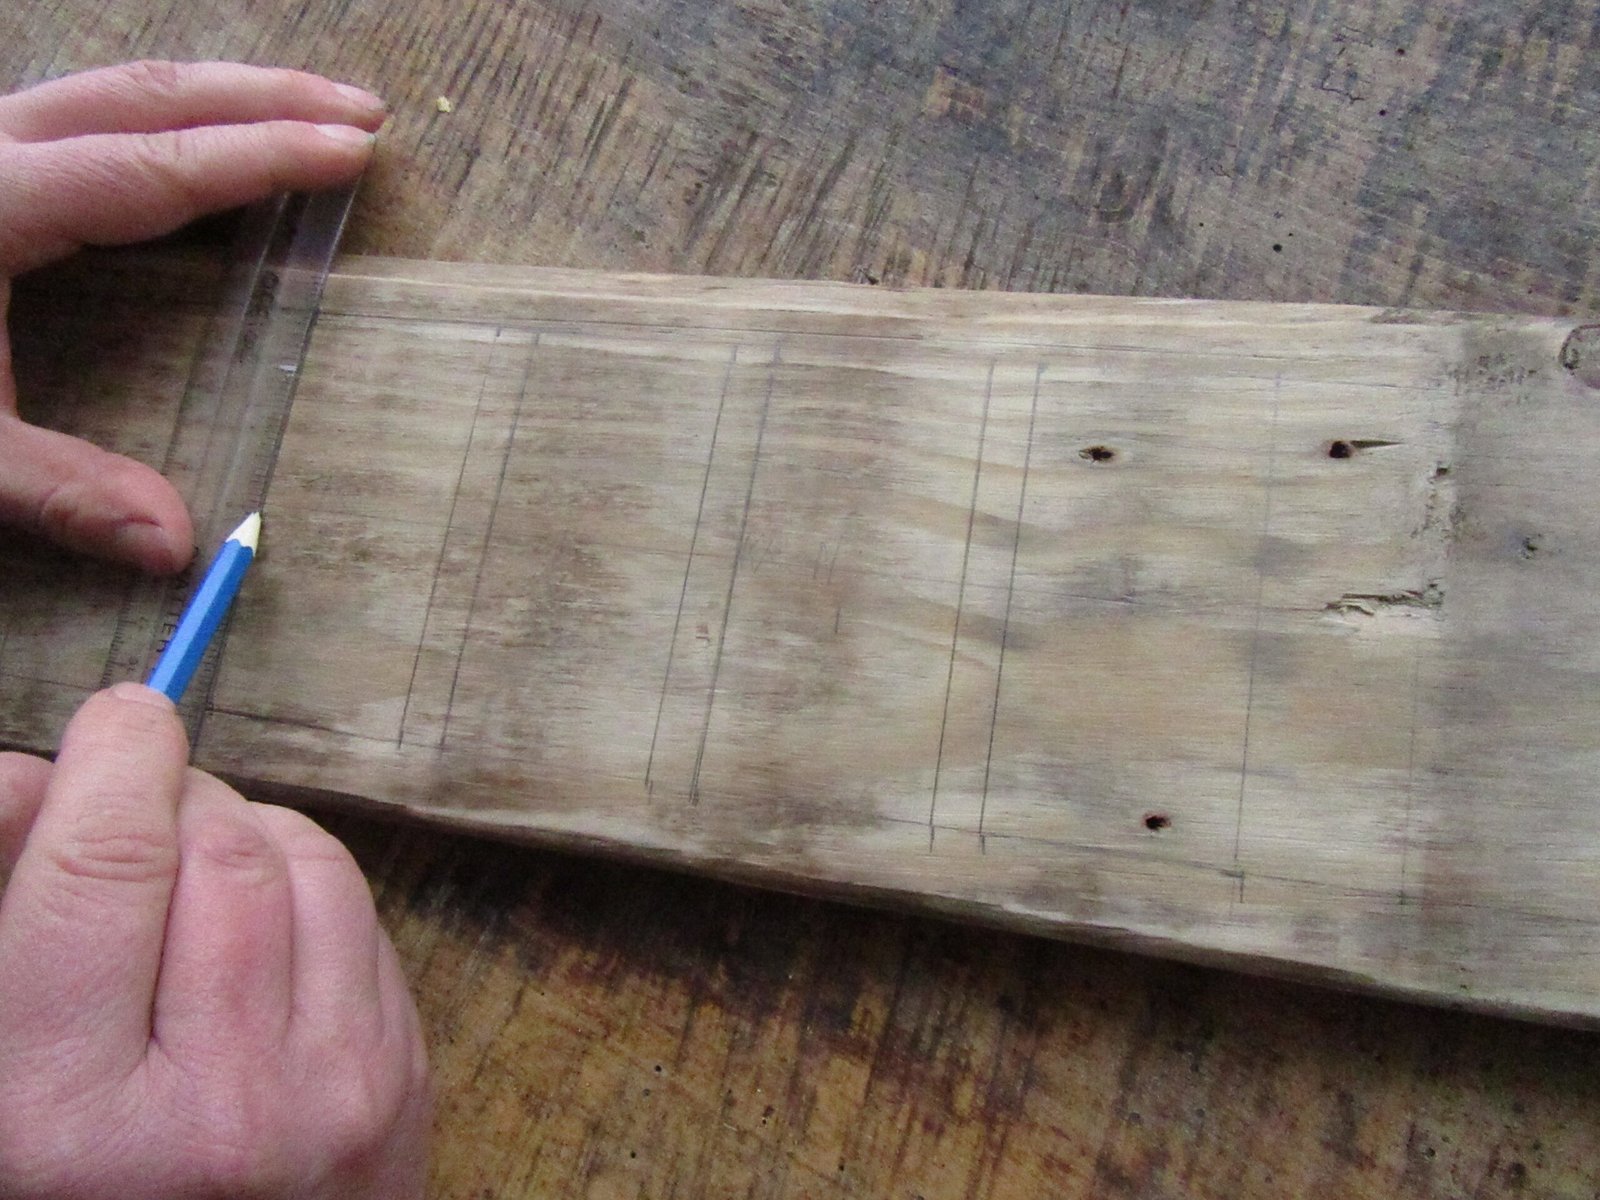
Step Three
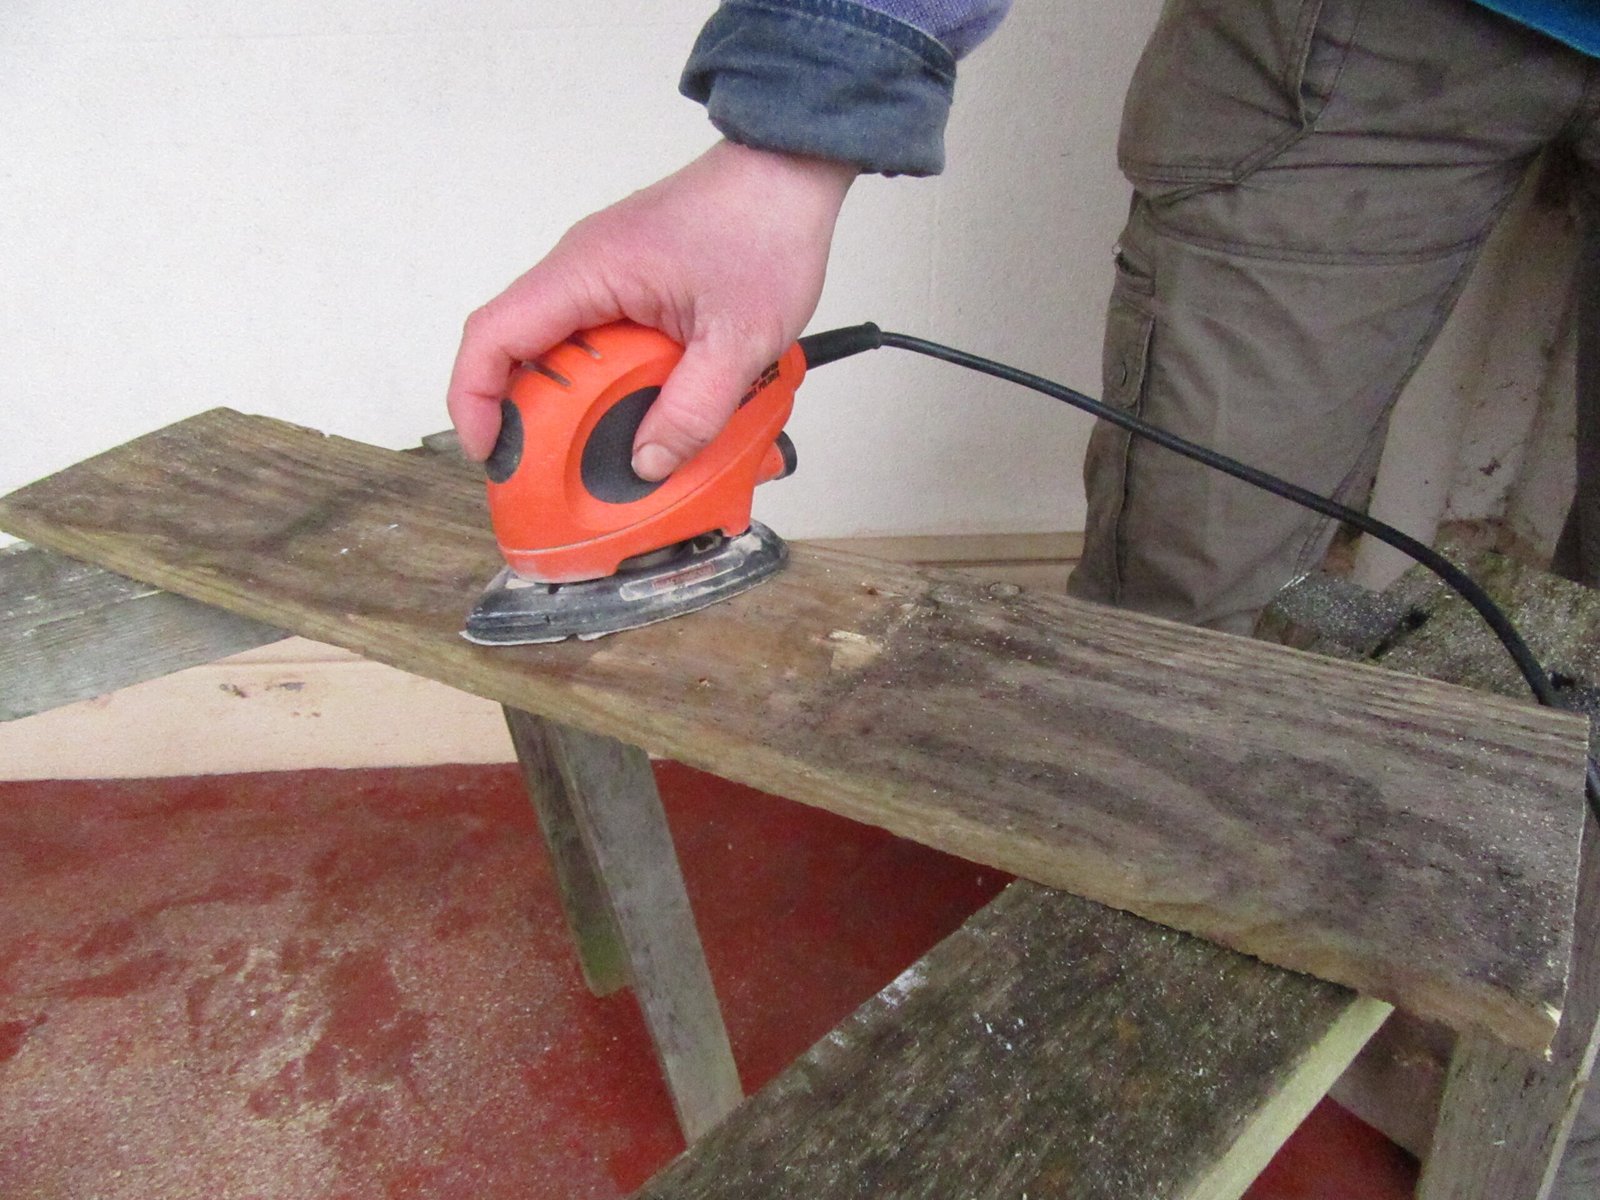
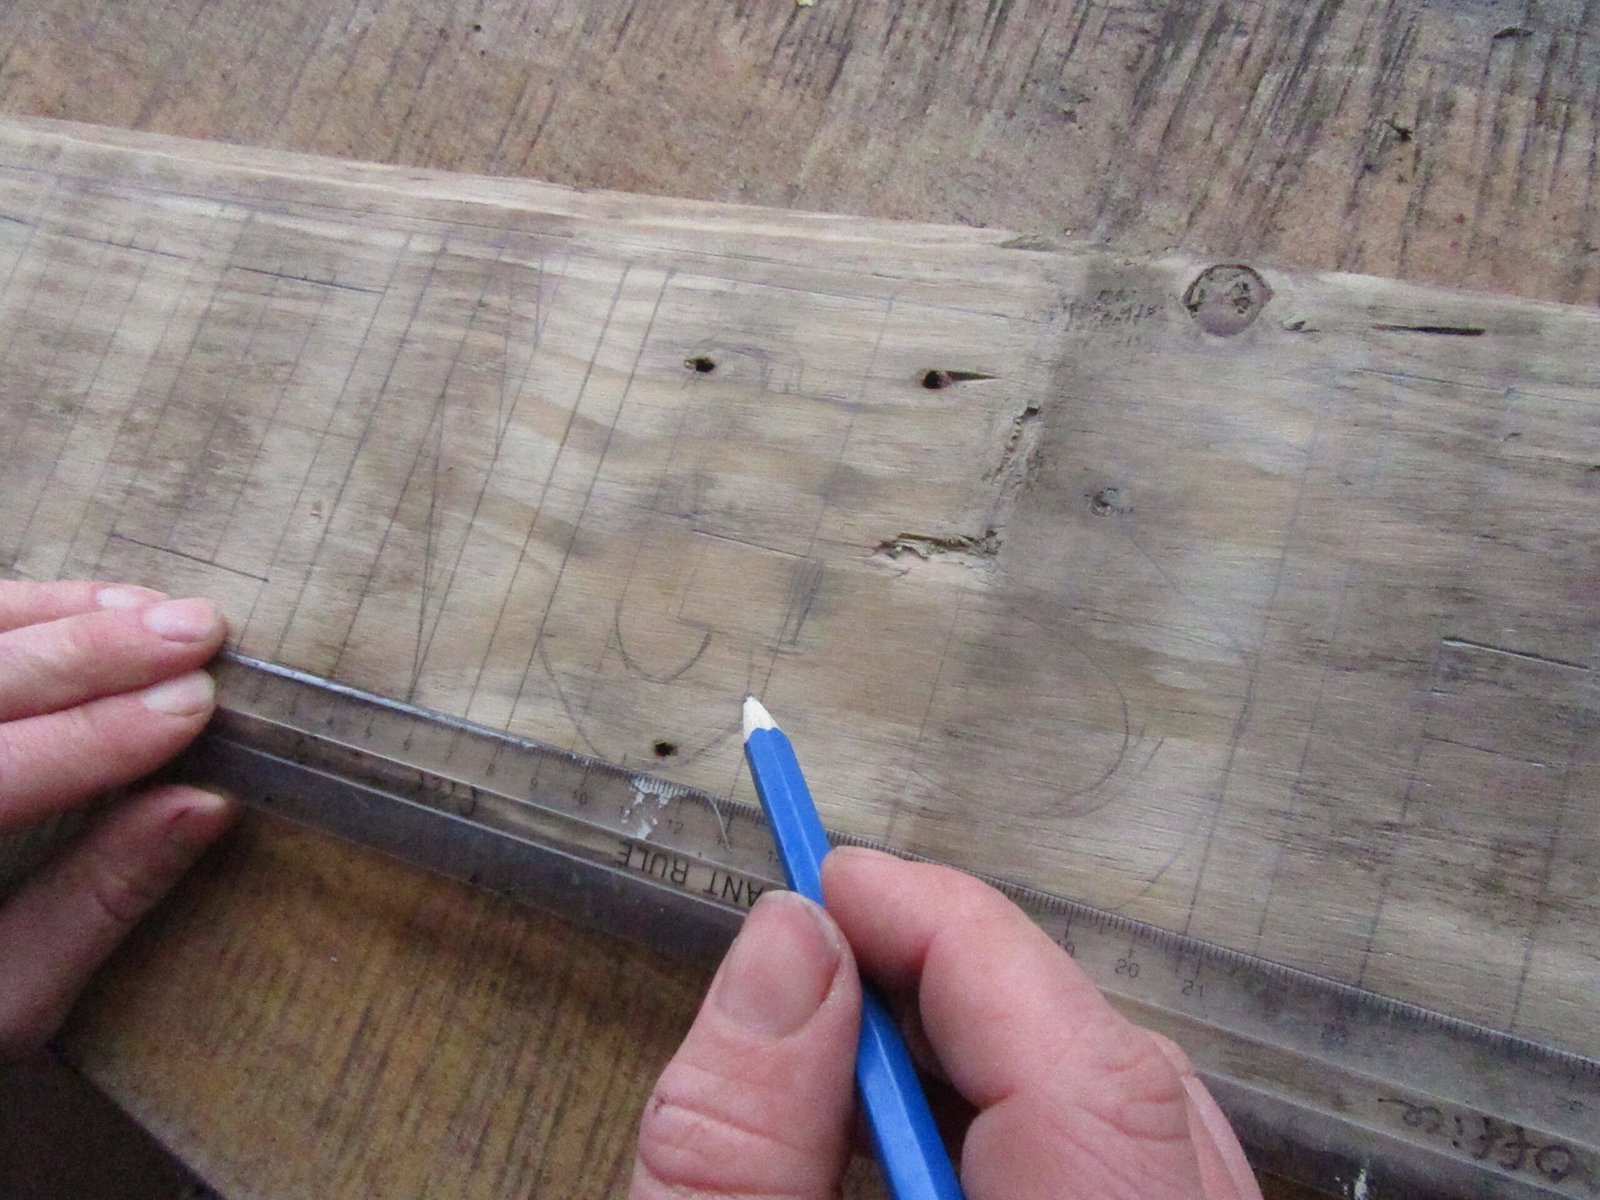
Step Four
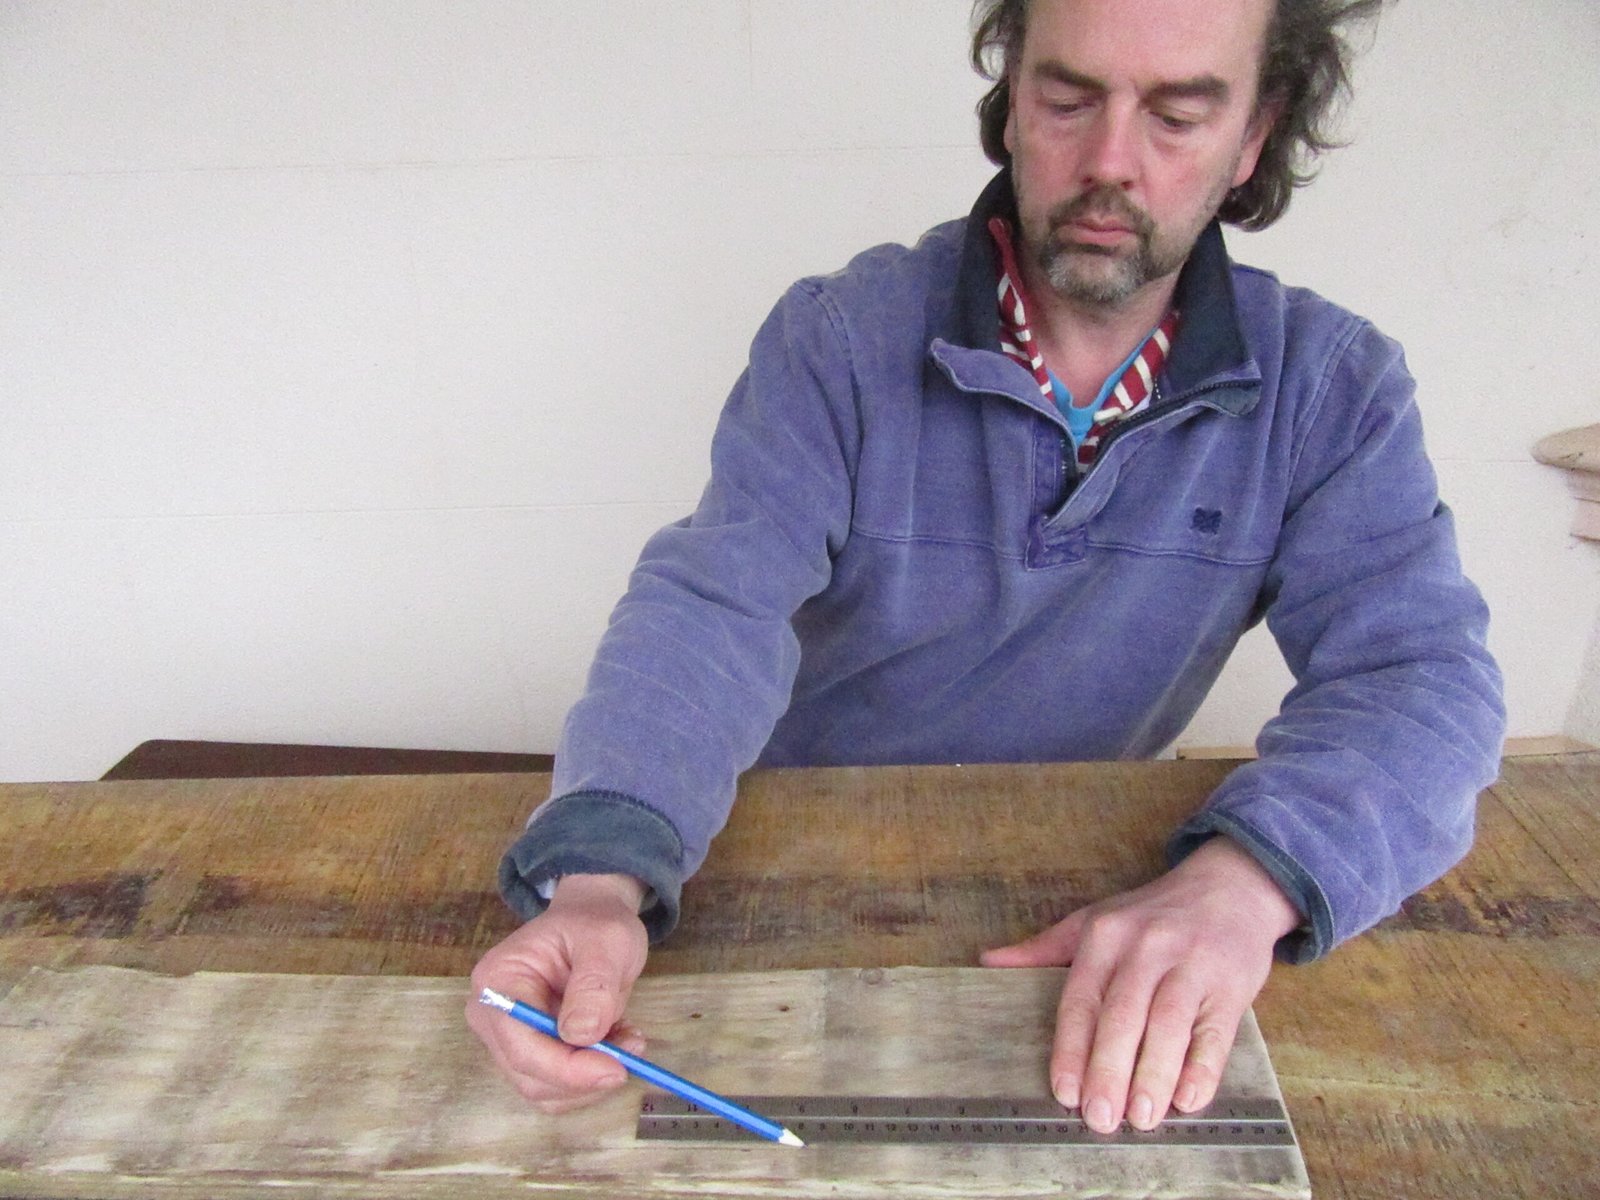
Step Five
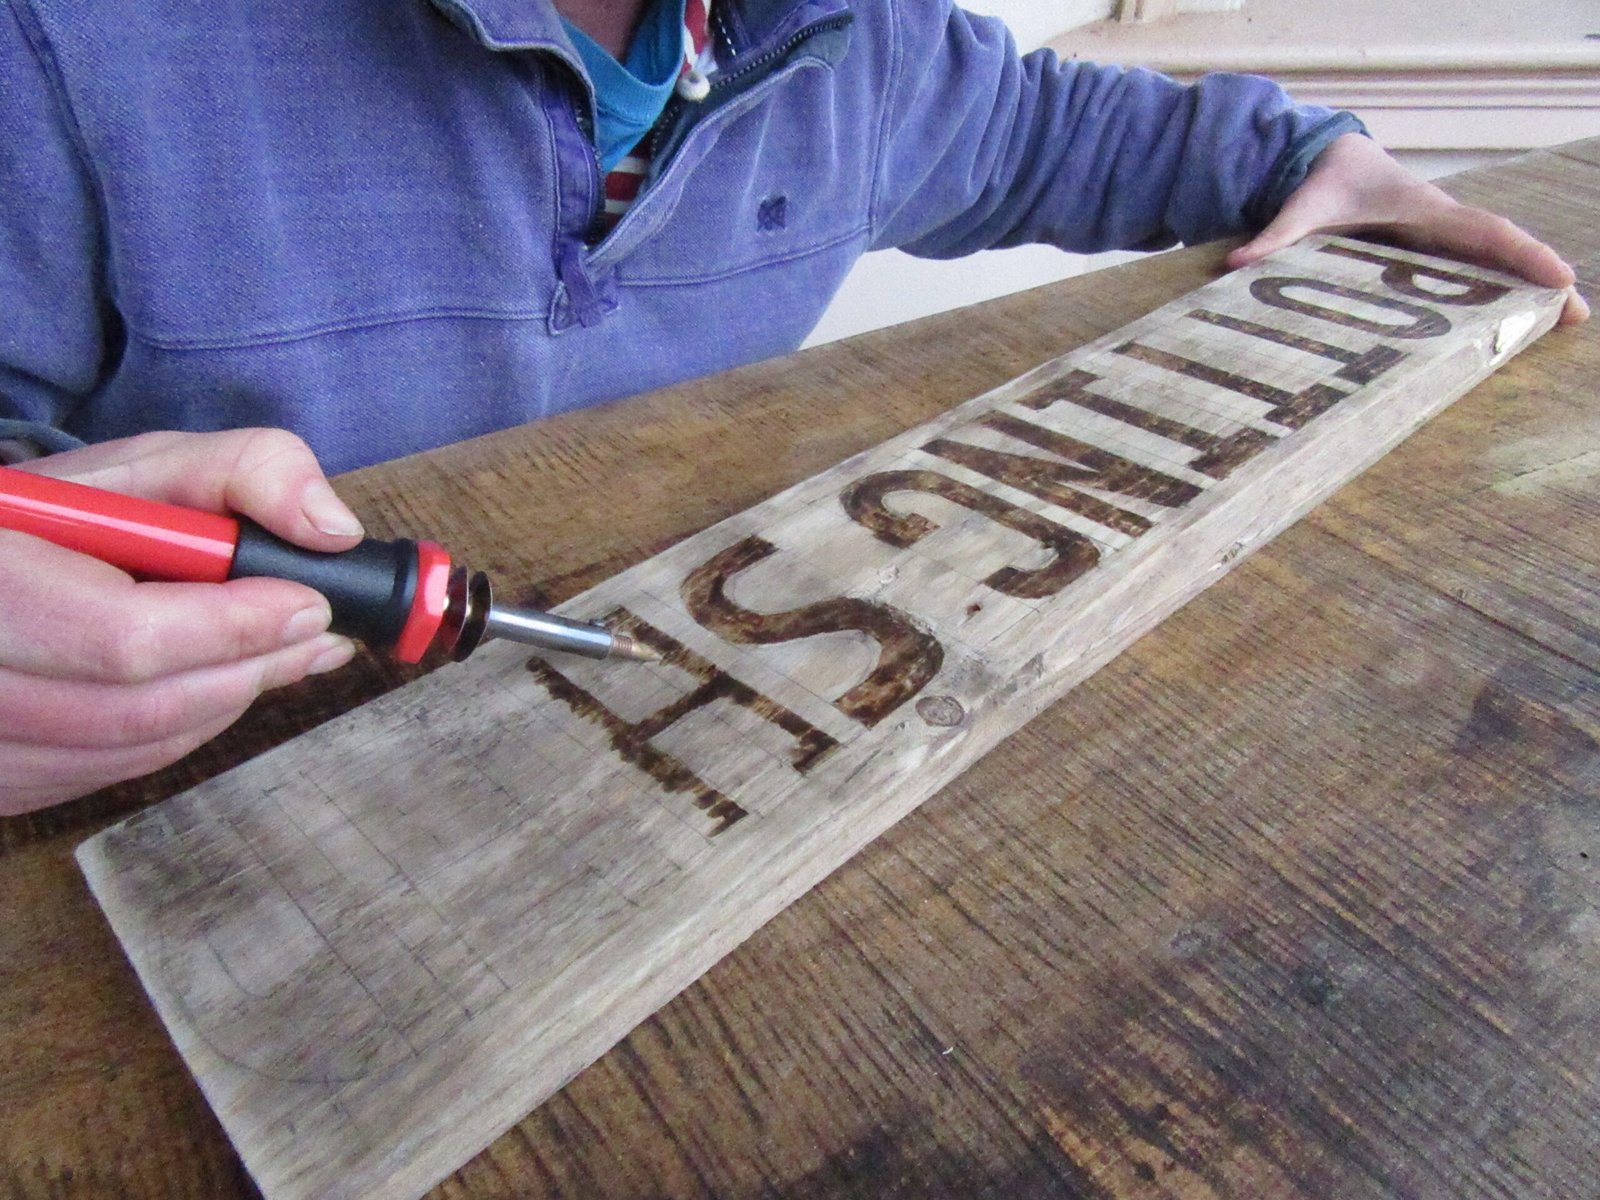
Step Six
Step Seven
Step Eight
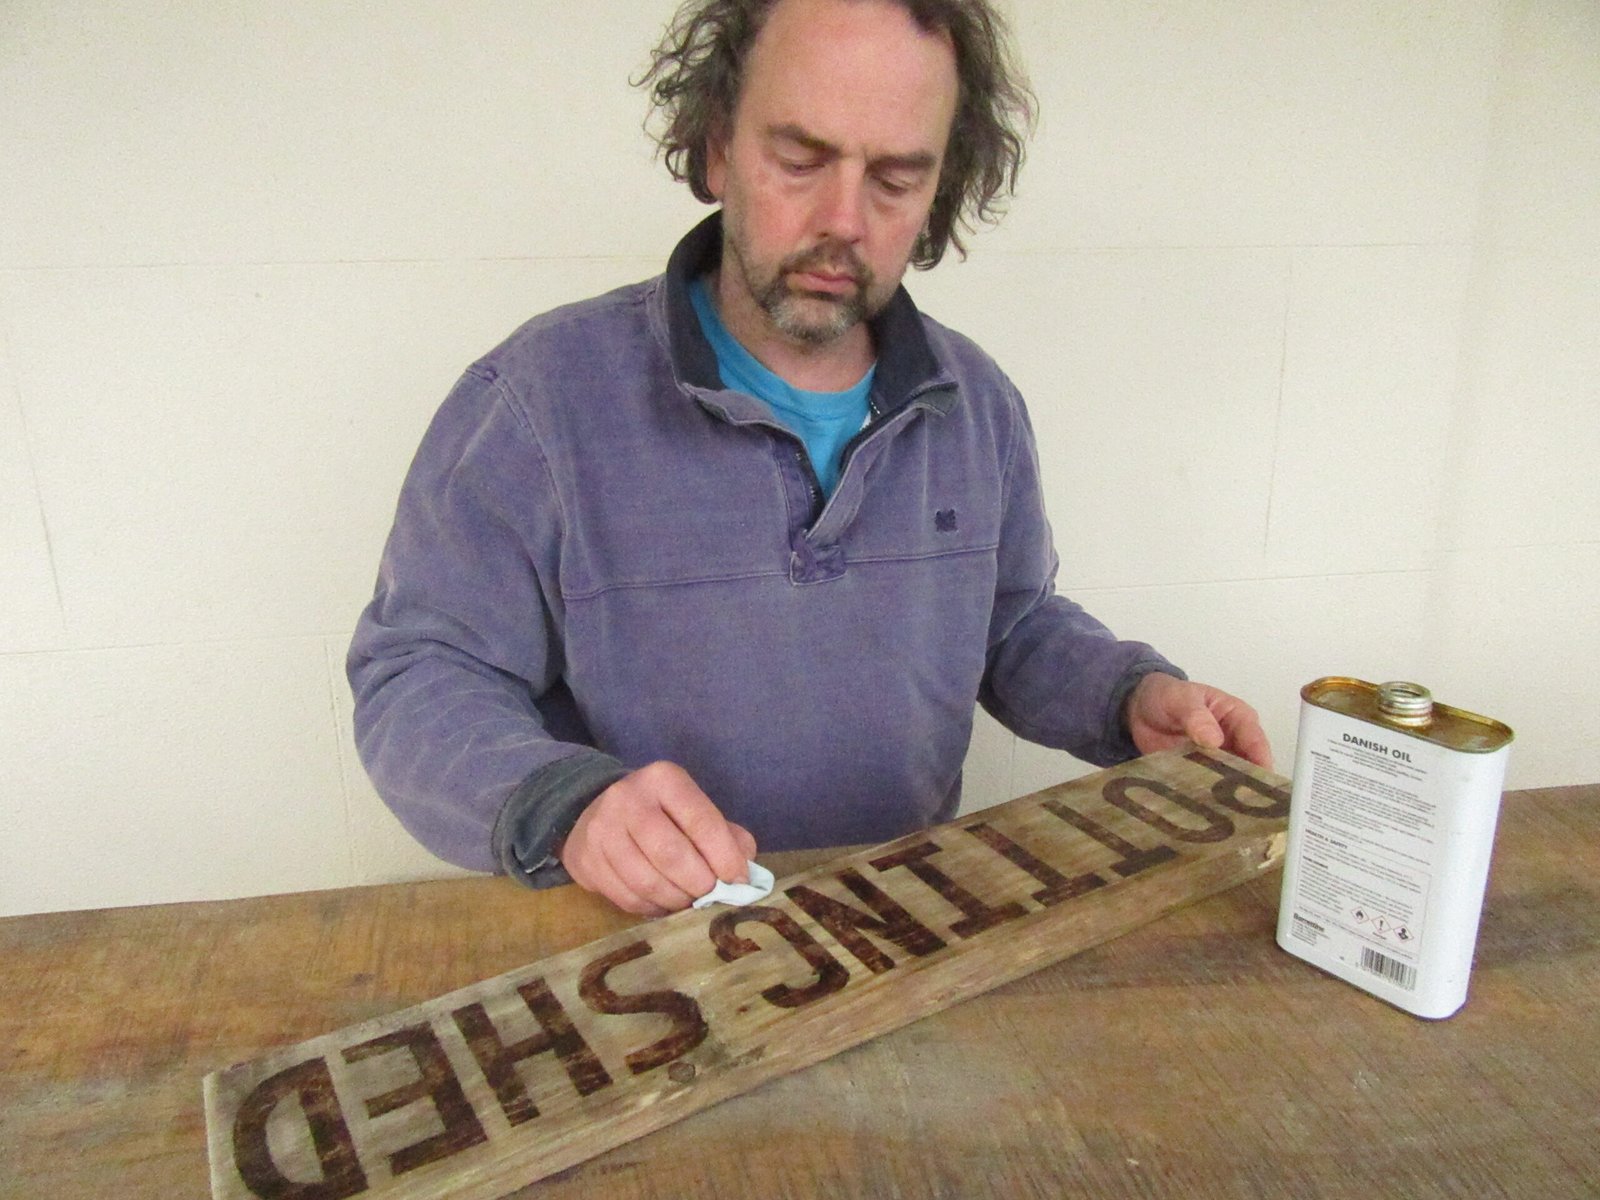
Step Nine
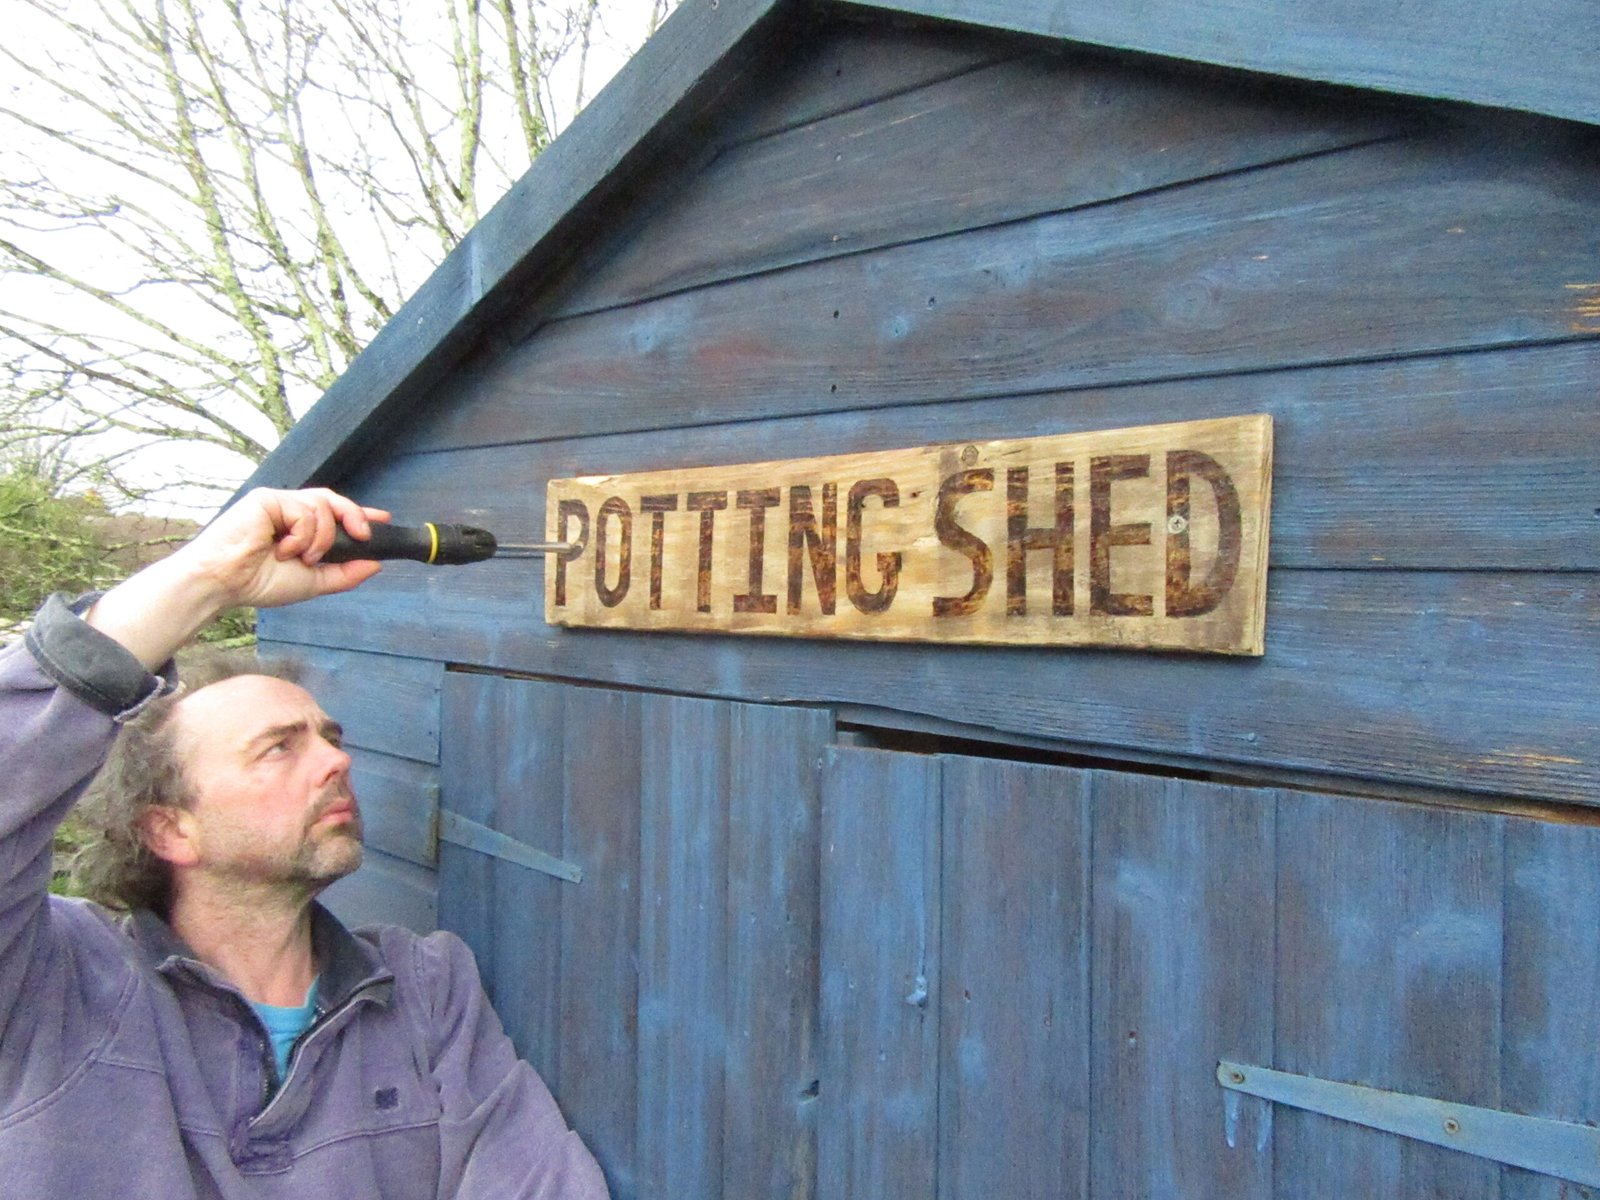
This is your sign to…
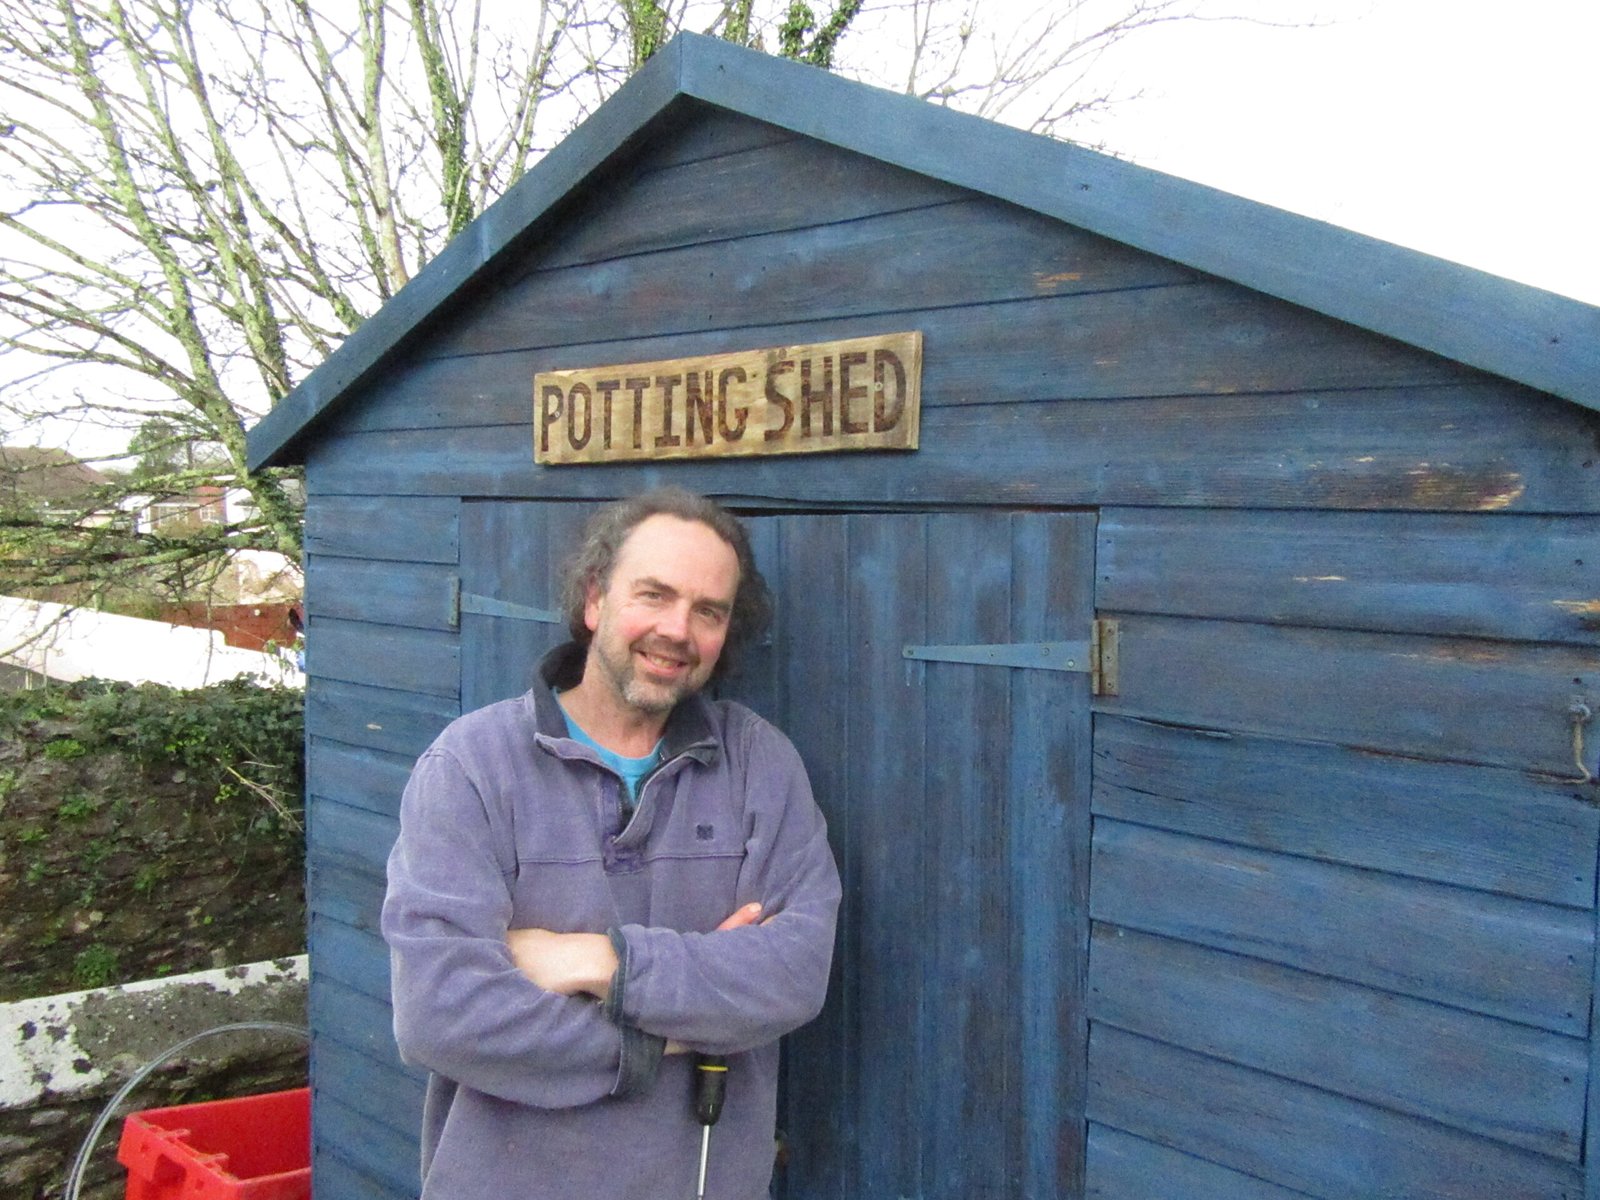
Isn’t it a beautiful, rustic sign. It looks wonderful attached above the door of my potting shed. It’s really easy to make one of these and I’d recommend investing in a wood burning engraving tool or pen. Once you’ve got one, it is so easy to create signs or label plants that will last a long time.
Rustic potting shed sign
wood burner engraver tool
Recycle a pallet
Weekend garden project
DIY project