building a rustic garden table
As you would probably expect, I love gardening, but very often it’s hard to find the time to stop, down gardening tools and simply enjoy the surroundings you’ve worked so hard to create. This month I’m building an outside table for alfresco dinning, or simply to use for placing my cuppa on in between gardening jobs.
I’m using a small old pallet for the table top. I’ve managed to find one with hardly any gaps between the slats which is ideal. If you can’t find a pallet like this, then you can crow bar the slats off the top, and adjust them so they are butted up to one another to create a top without gaps. The legs have been made out of old scrap timber, but you can use additional pallet slats, and screw a couple of lengths together to give them the suitable thickness for taking the weight of the table top itself. Despite using old pallets, I’m really pleased with the finished look and it has cost me nothing to make. My bespoke table might look a bit rustic, but fits in perfectly with my wildlife friendly, cottage garden design.
You Will Need:
2 pallets (one as table top, one as spares to make legs, sides etc)
Hammer, nails, screws, screw driver, saw, drill, crowbar, tape measure, carpenters square, pencil
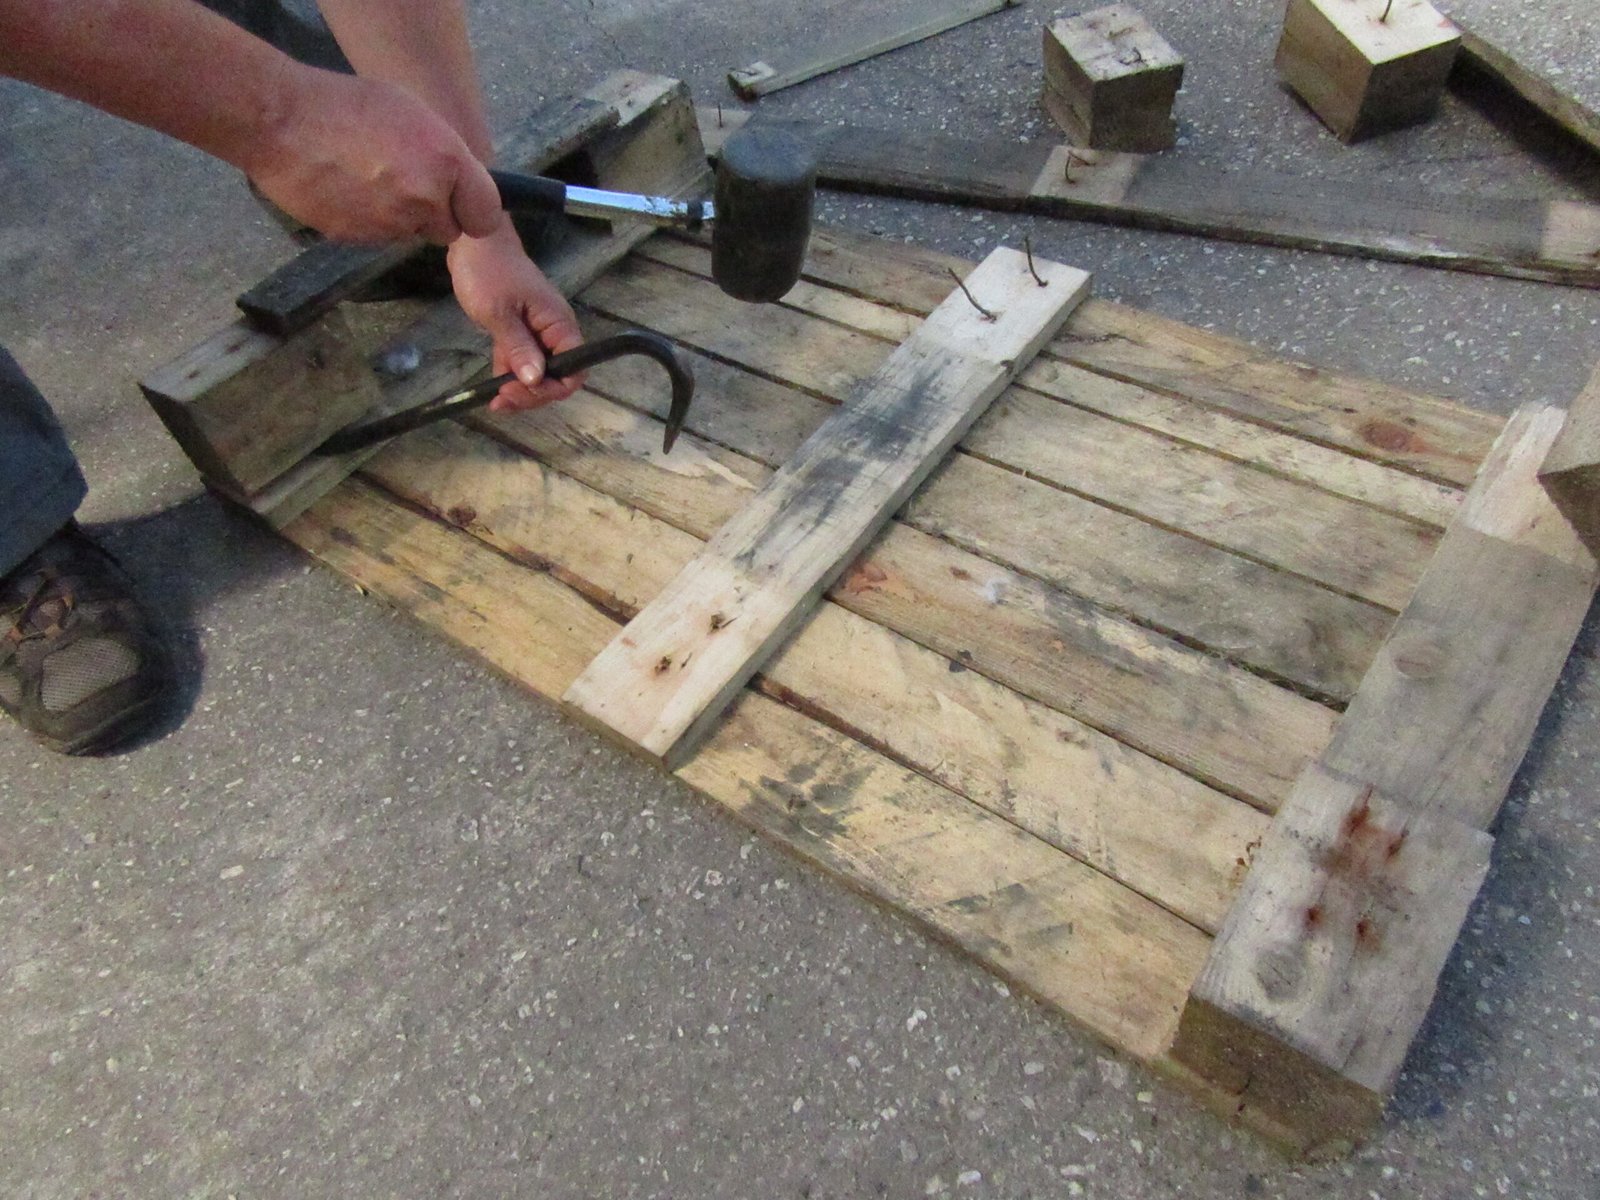
Step One
Turn the pallet over and remove the back slats and blocks. This will make the table top lighter and the back slats can be reused for the sides if they’re chunky enough to support the legs.
Step Two
If the back slats aren’t substantial enough (pallets vary in size) you can take apart another pallet with wide slats to form the sides of the table top
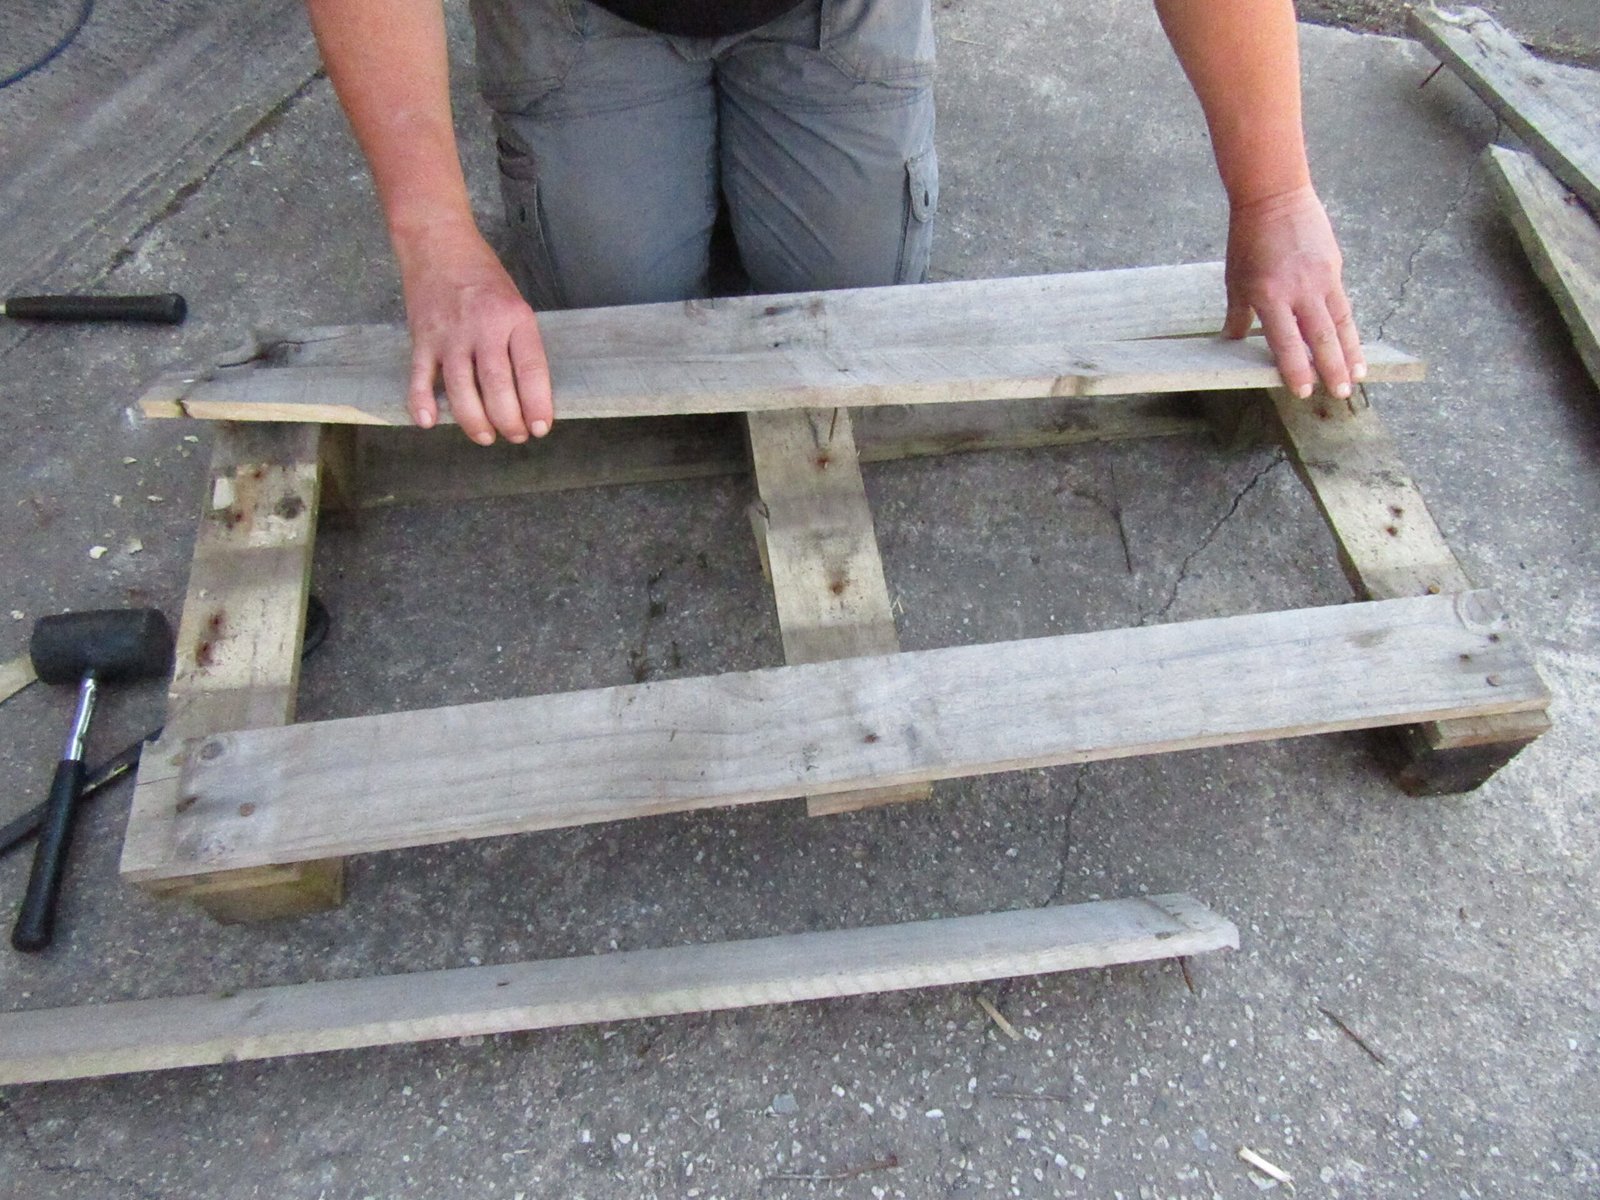
Step Three
Cut the slats that you’ve just removed to length so that they will fit around the sides of the table. (two for the length, two for the width)

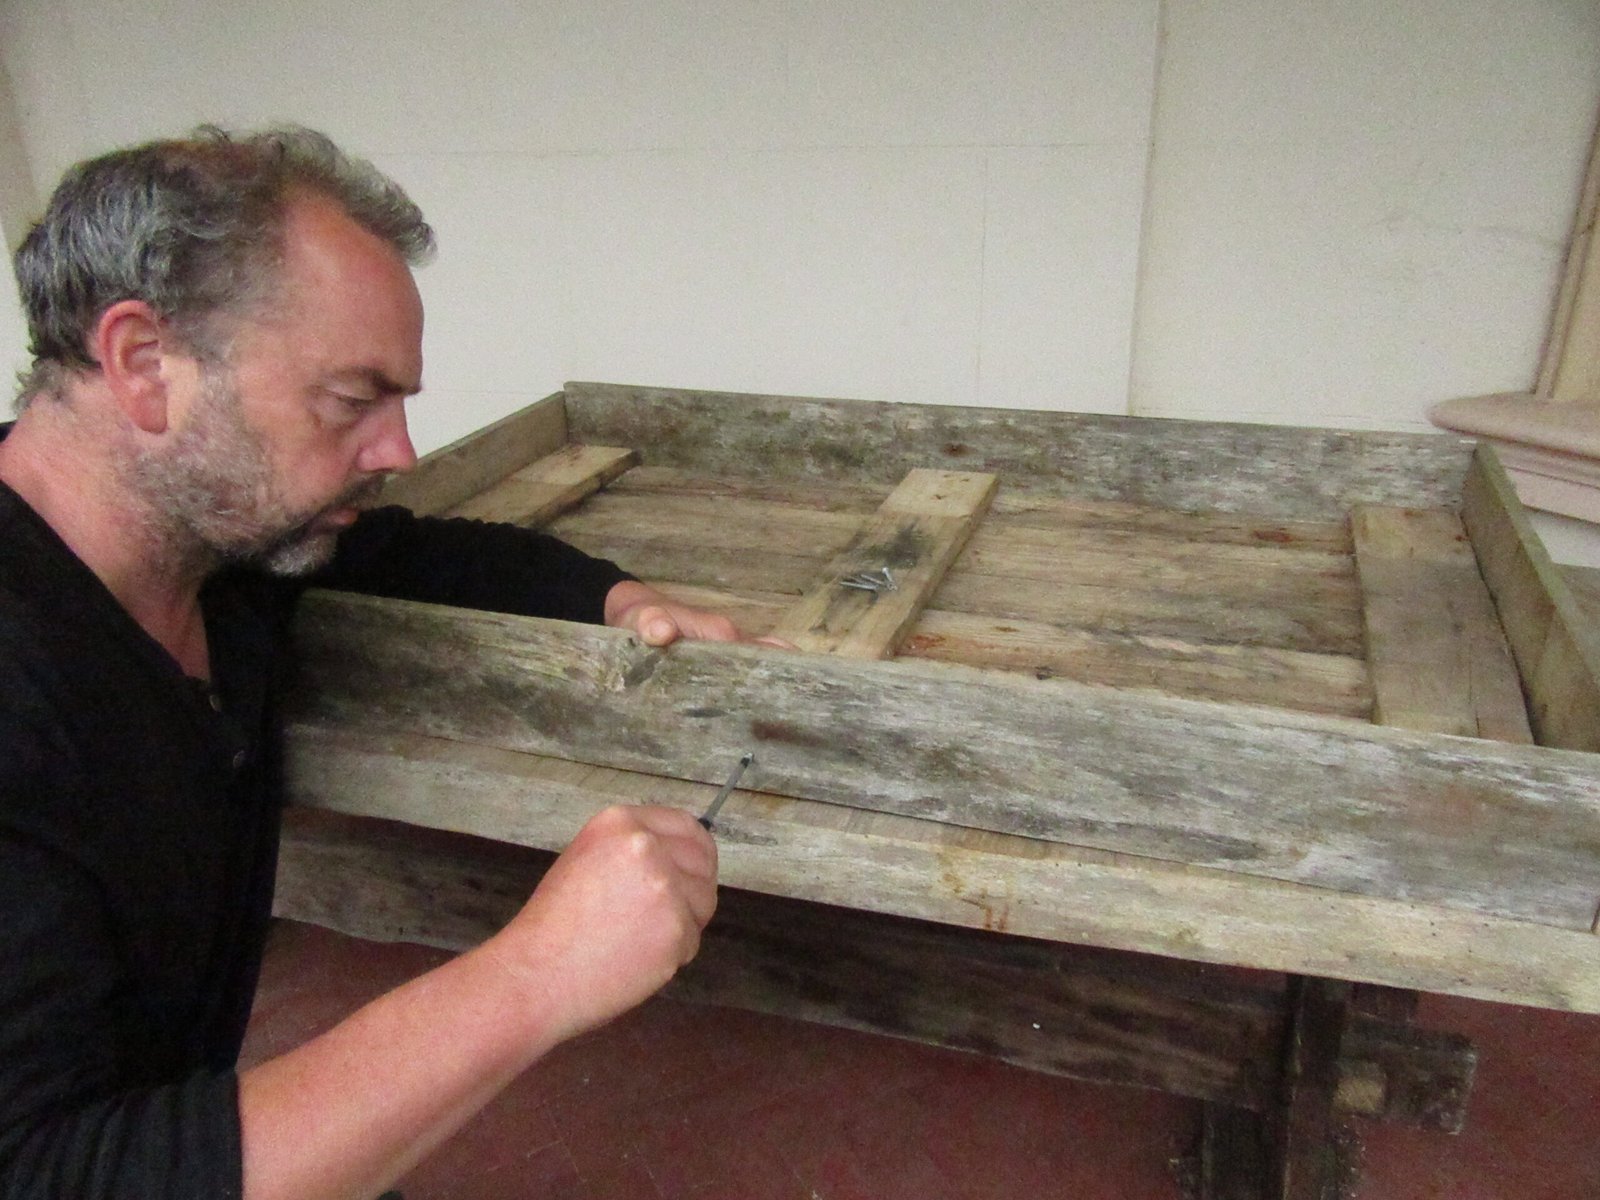
Step Four
Screw the slats to the sides of the table to form the edges of the table top ensuring that the top of the table is level with the top of the edge slates
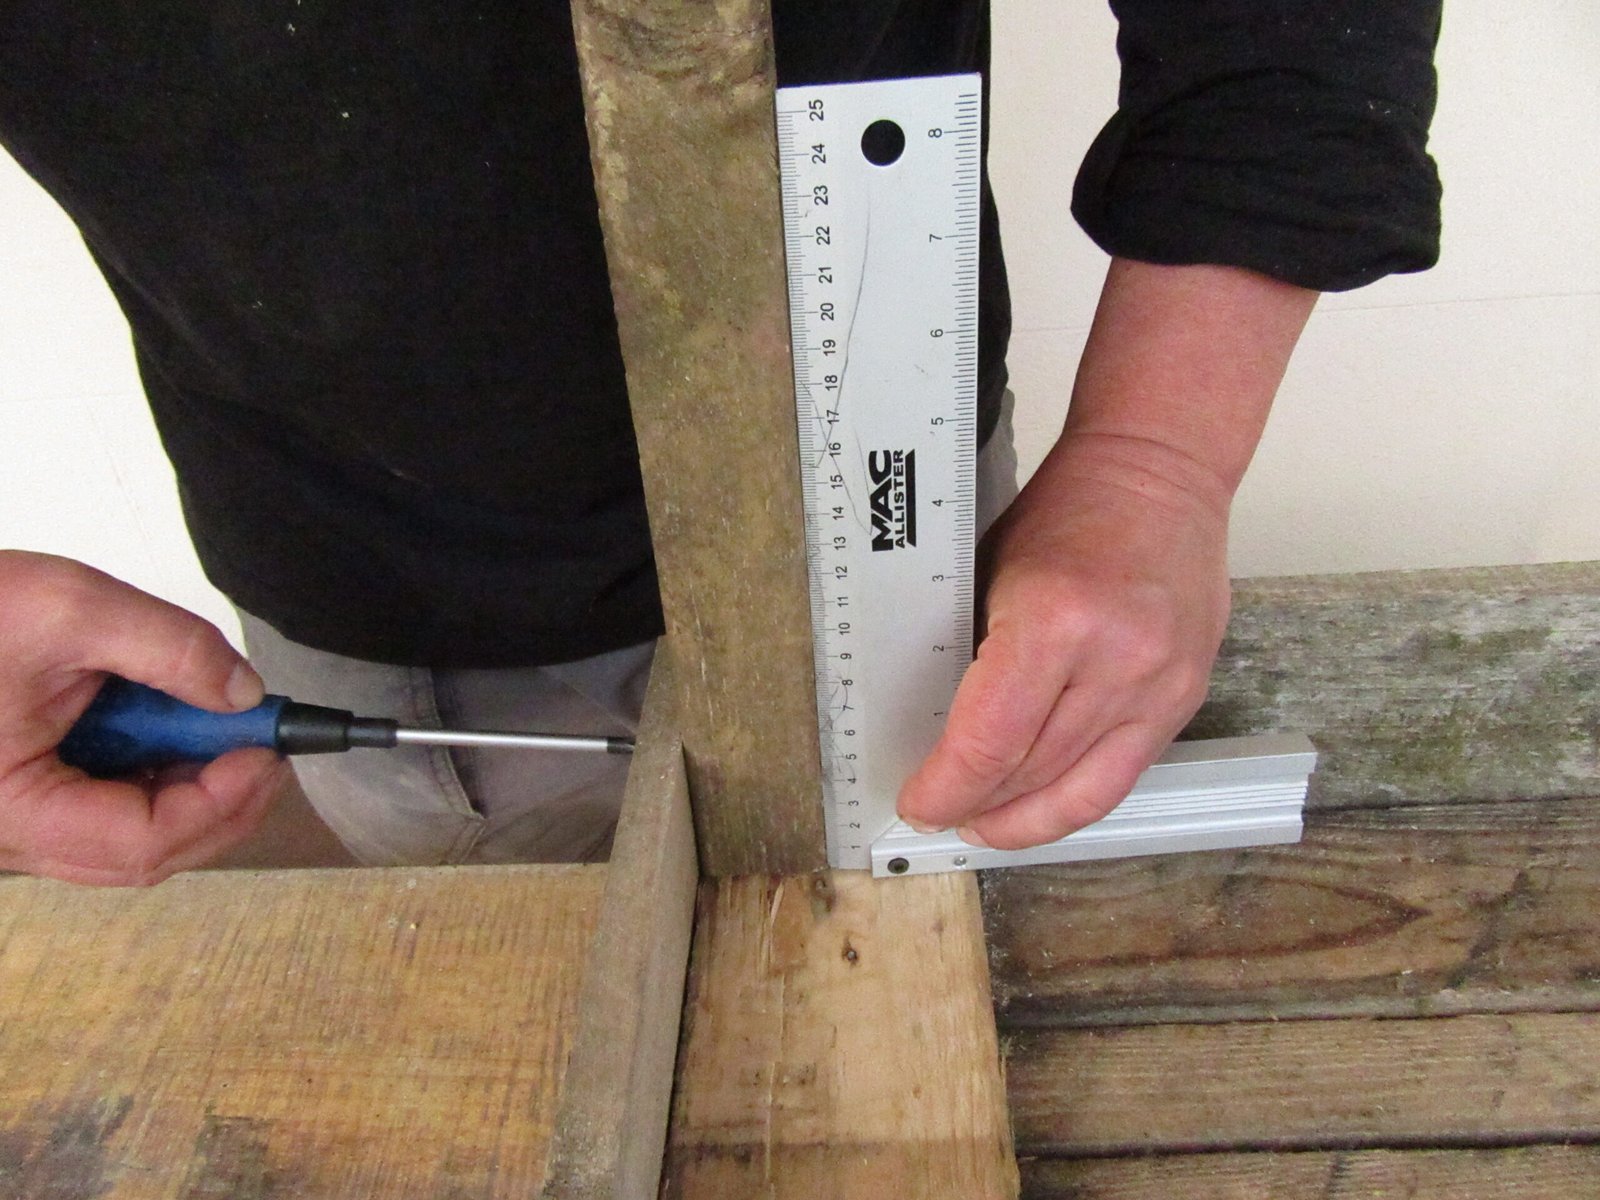
Step Five
Cut four lengths of timber to form the legs. I’ve cut mine to create a table 70cm high. Use a carpenters square to ensure the legs are cut square at the ends.

Step Six
Attach the legs to the inside of the table. Screw them from the outside to fix them to the sides. Check the table is stable and the legs are straight using a carpenters square.
Step Seven
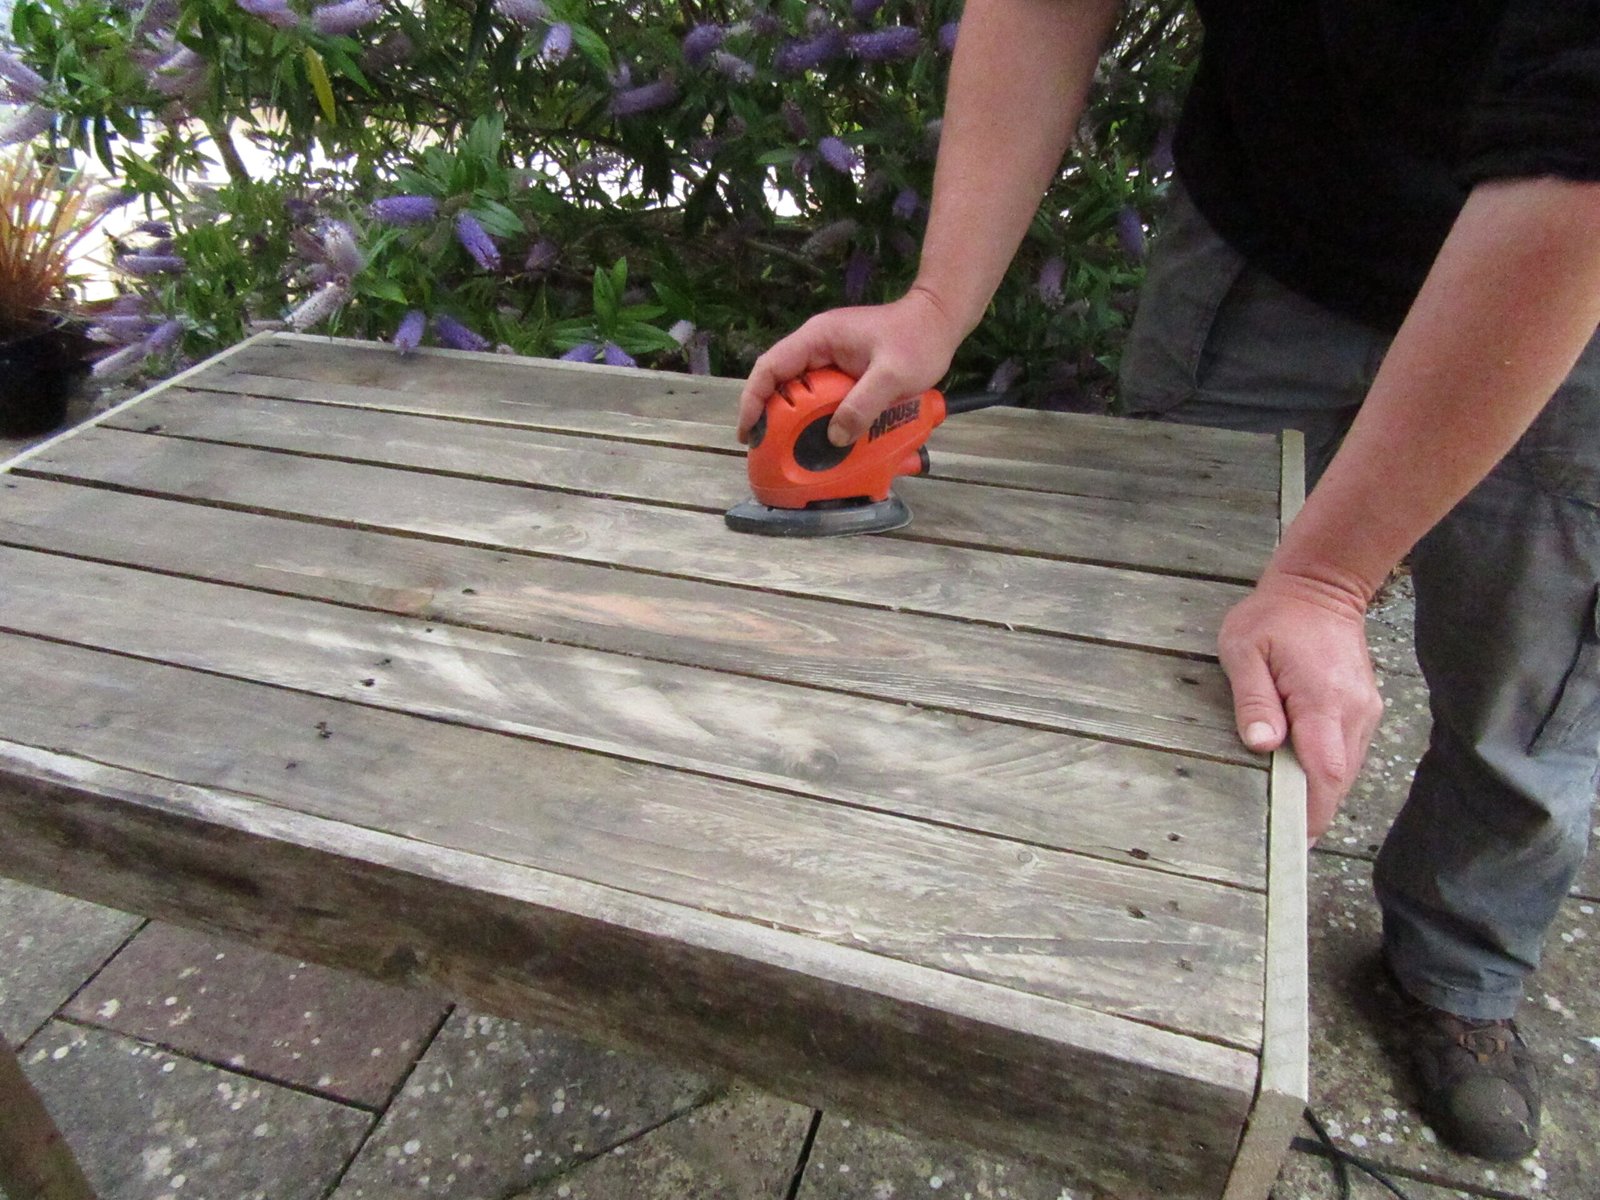
Sand the table down to remove any potential opportunities to get a splinter. It will also look much smarter.
Step Eight
You can then varnish or paint the pallet table to make it look attractive, fit in with your current garden design, and make it look less like a pallet.

Step Nine
Place your table in position in your garden with chairs and get ready to enjoy al fresco dining while the weather still remains good this season.

Enjoy your table
Once you have got your rustic table built, you can sit outside and enjoy the lovely weather. Pallet wood is very durable so this rustic table should last for a long time and give you many years of enjoyment.

Rustic Table
Homemade Table
Recycle a Pallet
Recycled Garden Project
Patio Gardening