Building a container from slate roofing tiles
Almost any fruit or vegetable can be grown in a container, and if you’ve only got a small garden or just a patio, sometimes they’re the only option. This month I’m building a container from old slate roof tiles that have been sitting around the back of a garden nursery where I work. Slate has a lovely rustic look to it, are hard wearing and flexible enough for me to make different shape containers, depending on the size of crop I wish to grow. In this project I’m making a simple rectangular pot which I’m going to use to grow thyme plants with a pomegranate as a centre piece.
Making this slate container was quick and easy, only taking about an hour, and it cost me next to nothing, just the price of a few screws. I’m placing it on my doorstep which is warm and south facing, ideal conditions for the pomegranate to thrive in.
You Will Need:
4 Roof Slates (2 long sides, 1 base and one cut in half for the two ends)
Wooden batons.
Compost, crocks for drainage and plants (I’ve used 4 thyme and a small pomegranate)
Screws, screwdriver, hammer, saw, drill and masonry drill bit, tape measure.
Step One
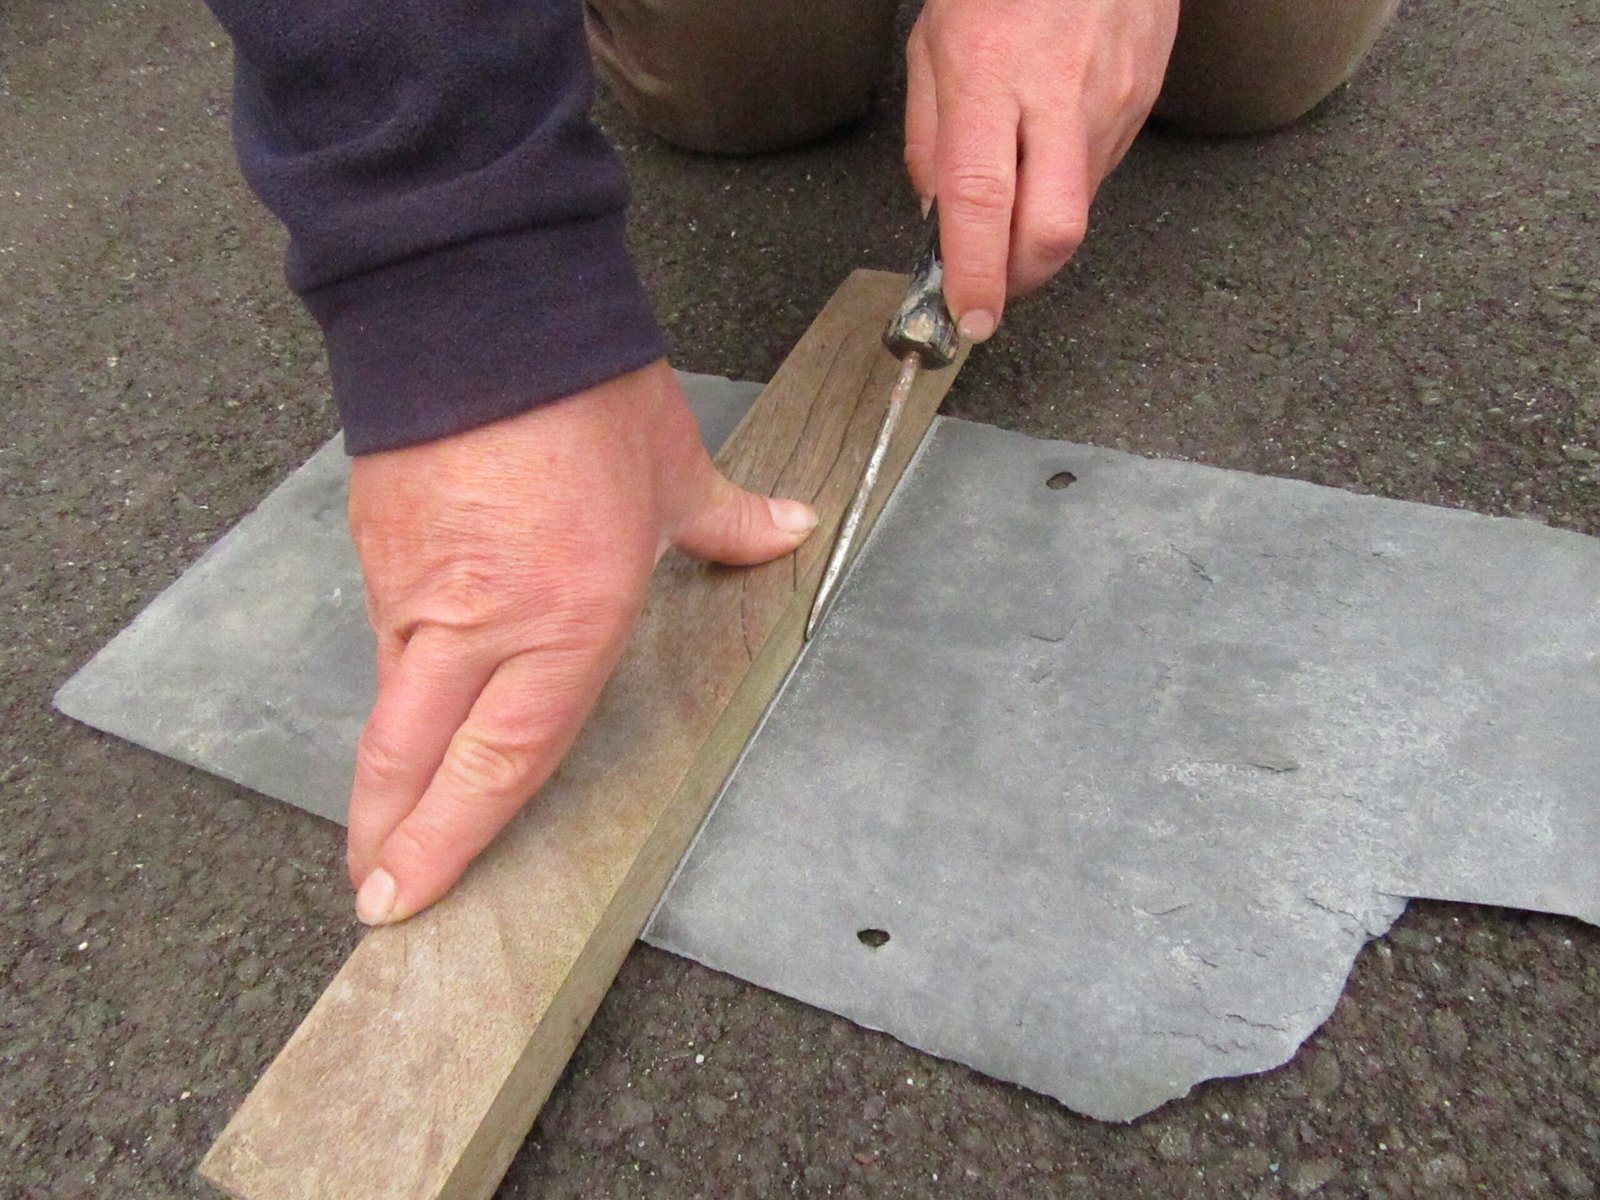
To create the two ends of the container you will need to break a slate in half. To do this, use a tape measure to work out the half way point and then sharply score a line where you want the break with a screw driver or nail.
Step Two
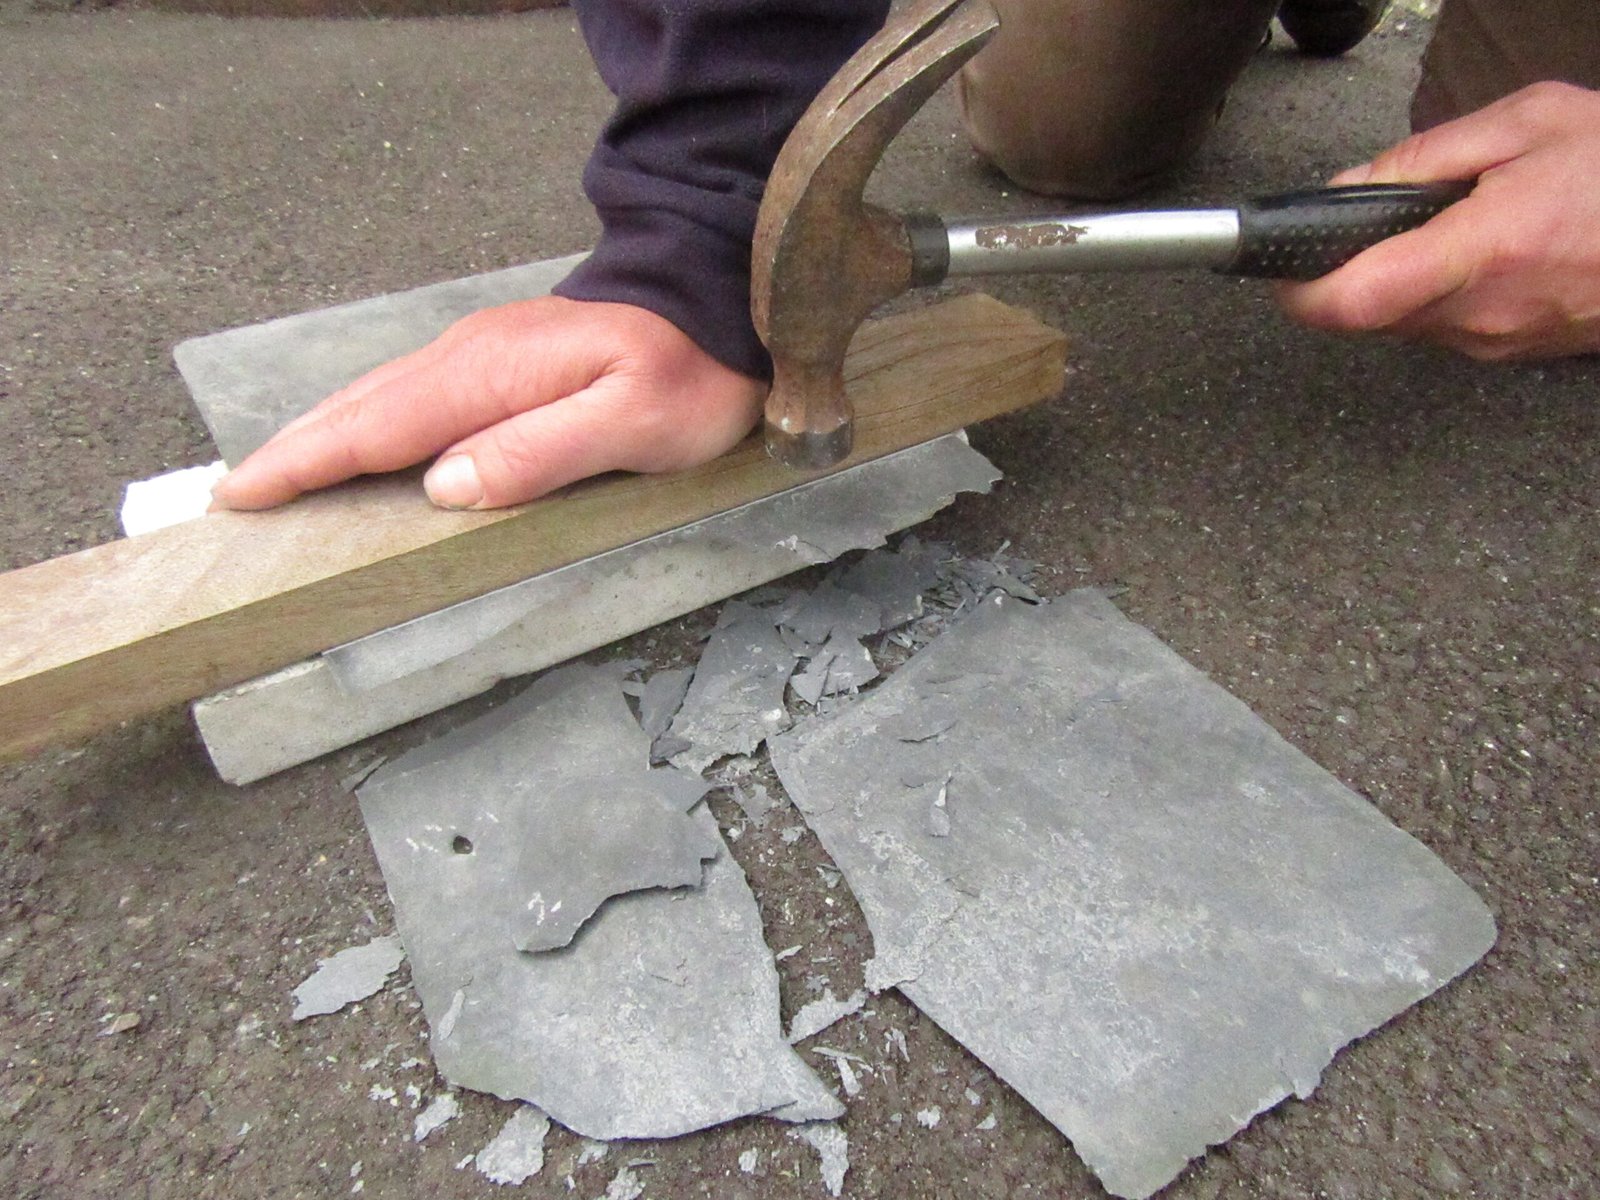
To break it, place the line of the slate on the edge of a brick or patio and place a weight (such as another brick or baton above it) and strike down with a hammer to break the slate in half. Alternatively use an angle grinder.
Step Three
Cut lengths of baton which will be used to join the four sides and base of the container. You will need four lengths to run up the inside corners of the container and four more to run along each edge of the base to join them to the sides.

Step Four
Once you have worked out where the batons will attach to the edges of the slate sides and base, use a drill and masonry bit to create the screw holes in the slate. Then use screws to attach them to the batons.

Step Five
Start to assemble the container by screwing the sides and the base together making sure that it is all square. You will probably need somebody else to help with holding the sides together while you screw them tight.

Step Six
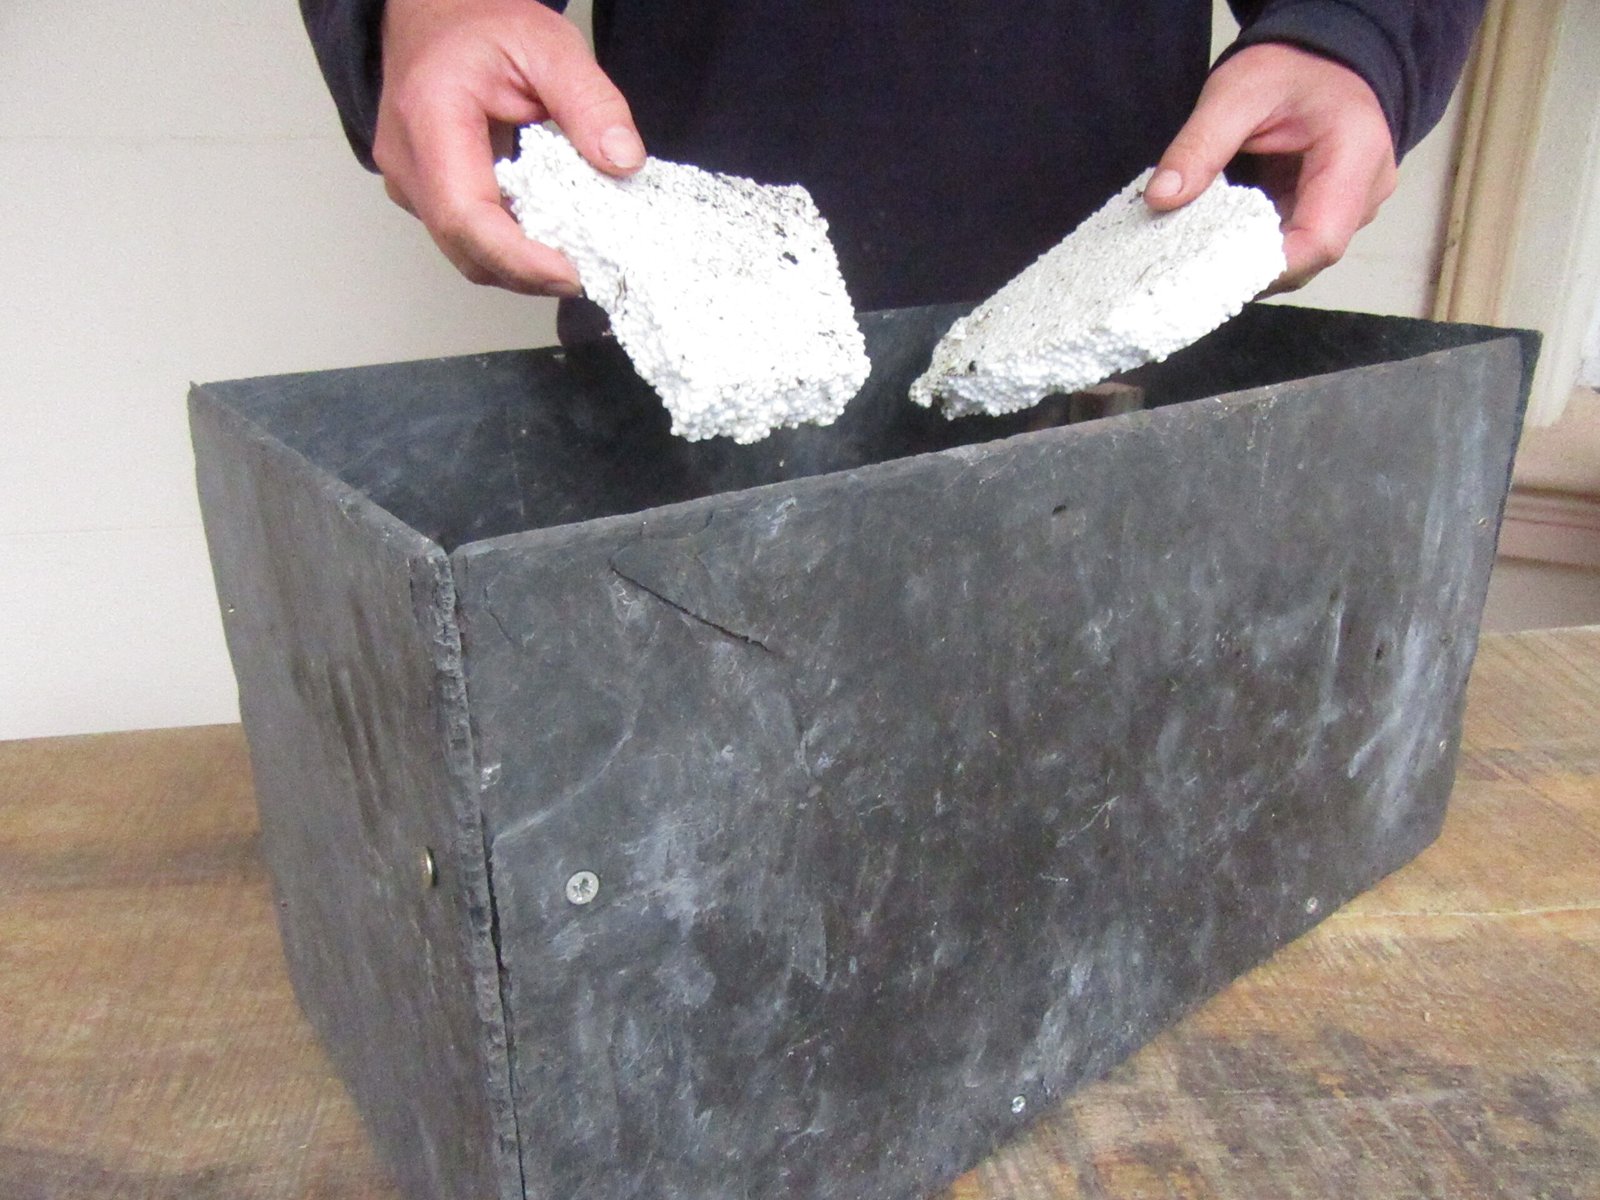
If there are no gaps at the edges of the container’s base, then you may need to drill a few additional drainage holes. I’ve also broken up polystyrene to the base of mine to act as filler and help moisture soak away.
Step Seven
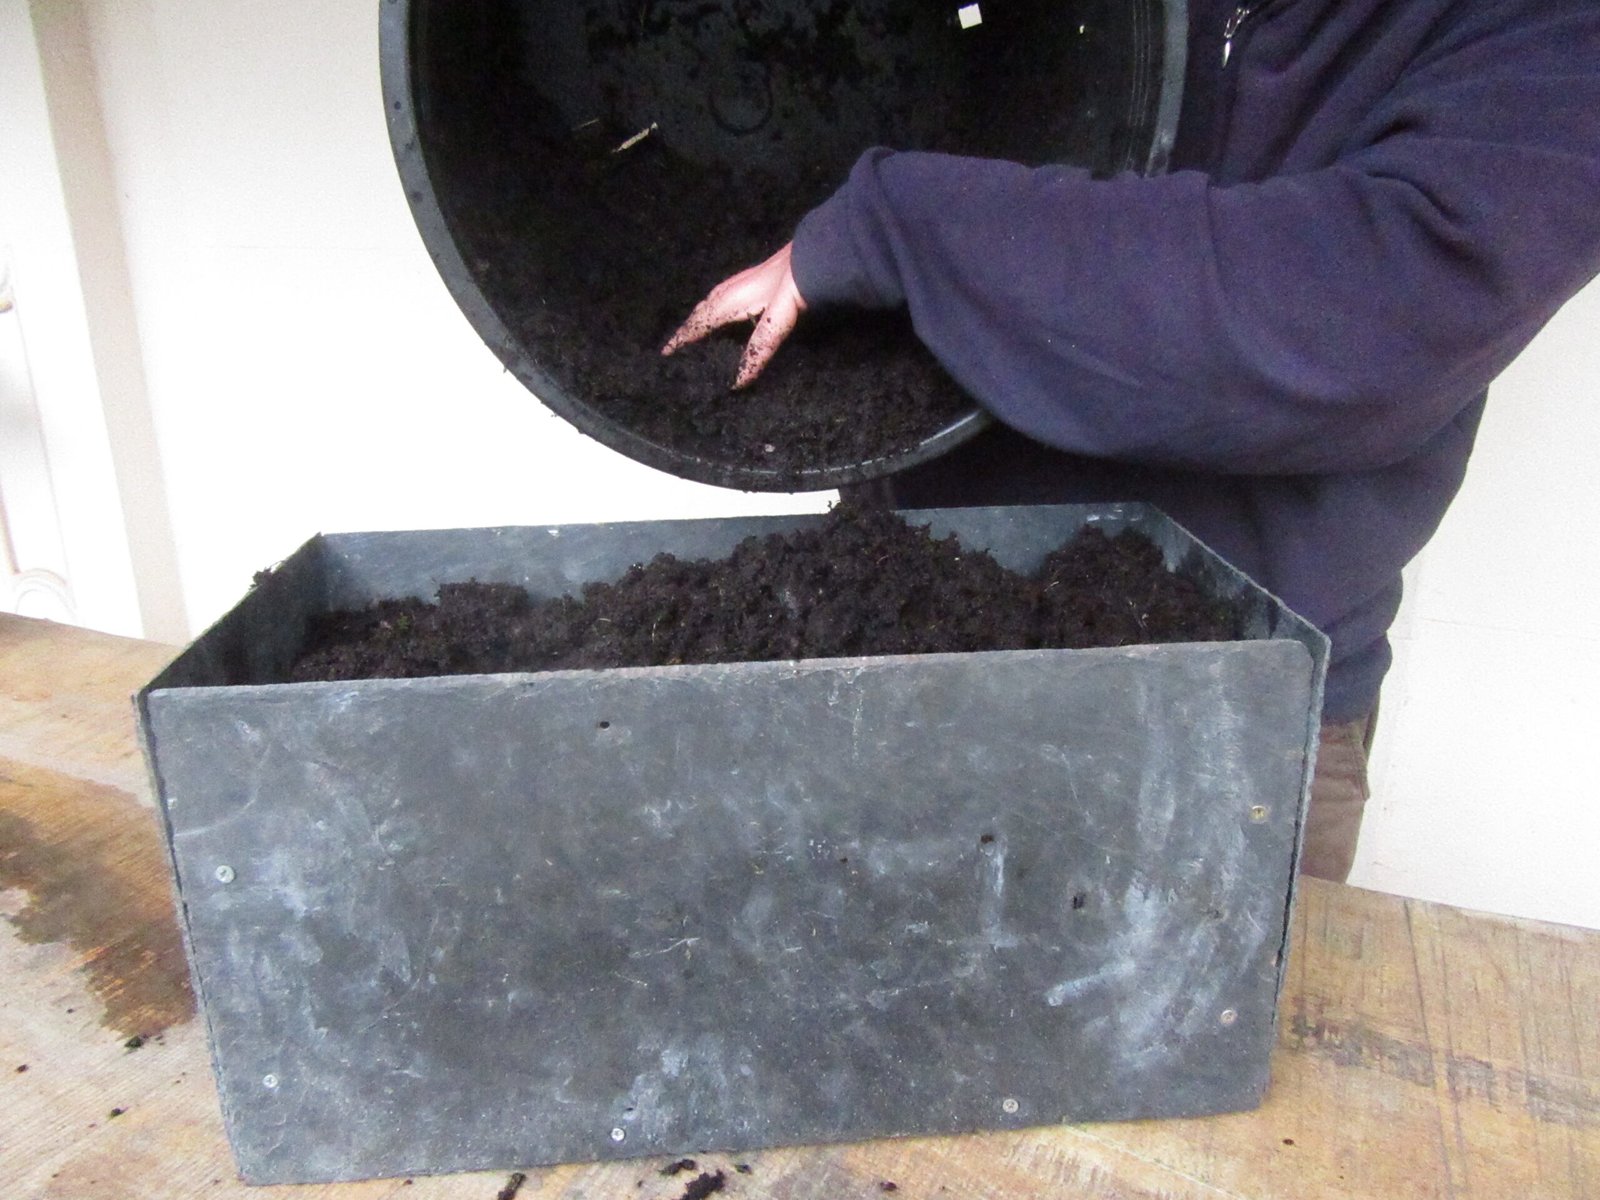
Fill the container up to within one cm to the top with a general purpose, peat free compost mixed with a few handfuls of grit to maintain a decent drainage.
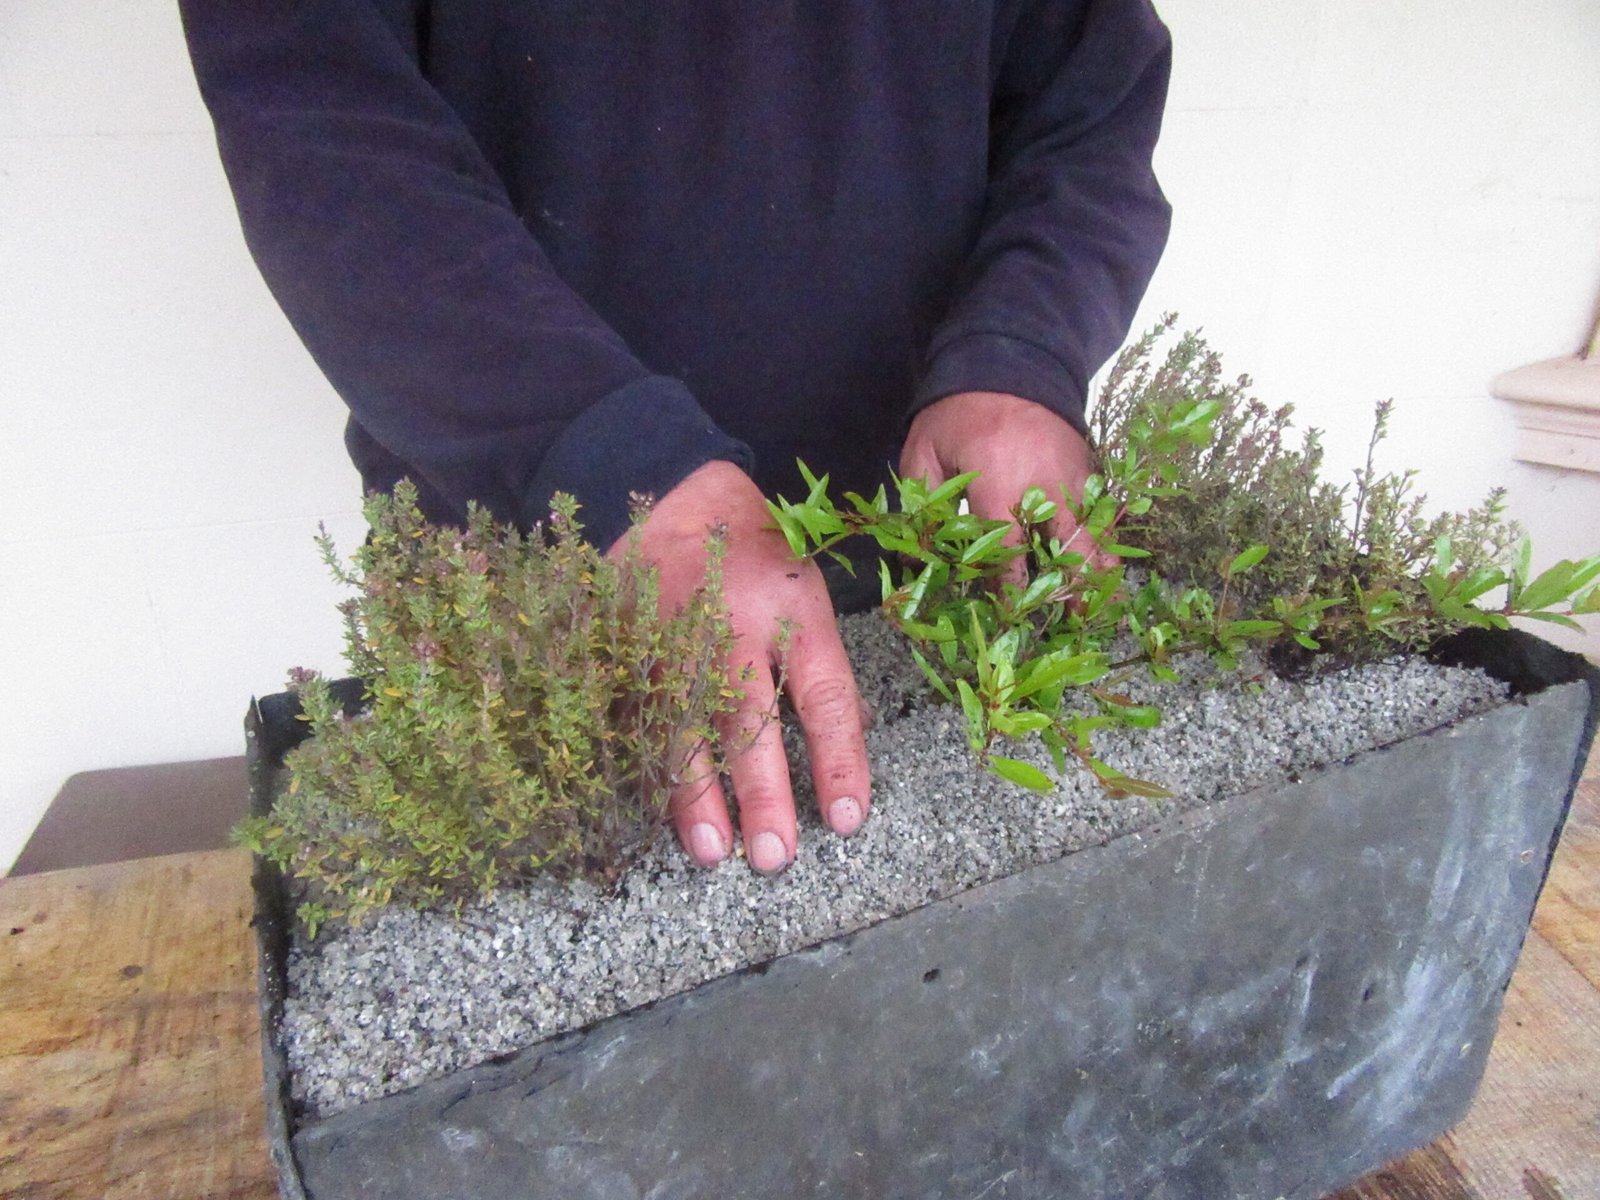
Step Eight
Put your plants into the compost and firm them in with your hands. I’ve used a pomegranate as a centre feature, and two thyme plants either side for evergreen interest. As the pomegranate gets bigger, I’ll remove the thyme.

Step Nine
Add some mulch to the surface to help suppress any potential weeds and to retain moisture. I’ve used vermiculite which also gives a lovely, clean and white finish to the design.
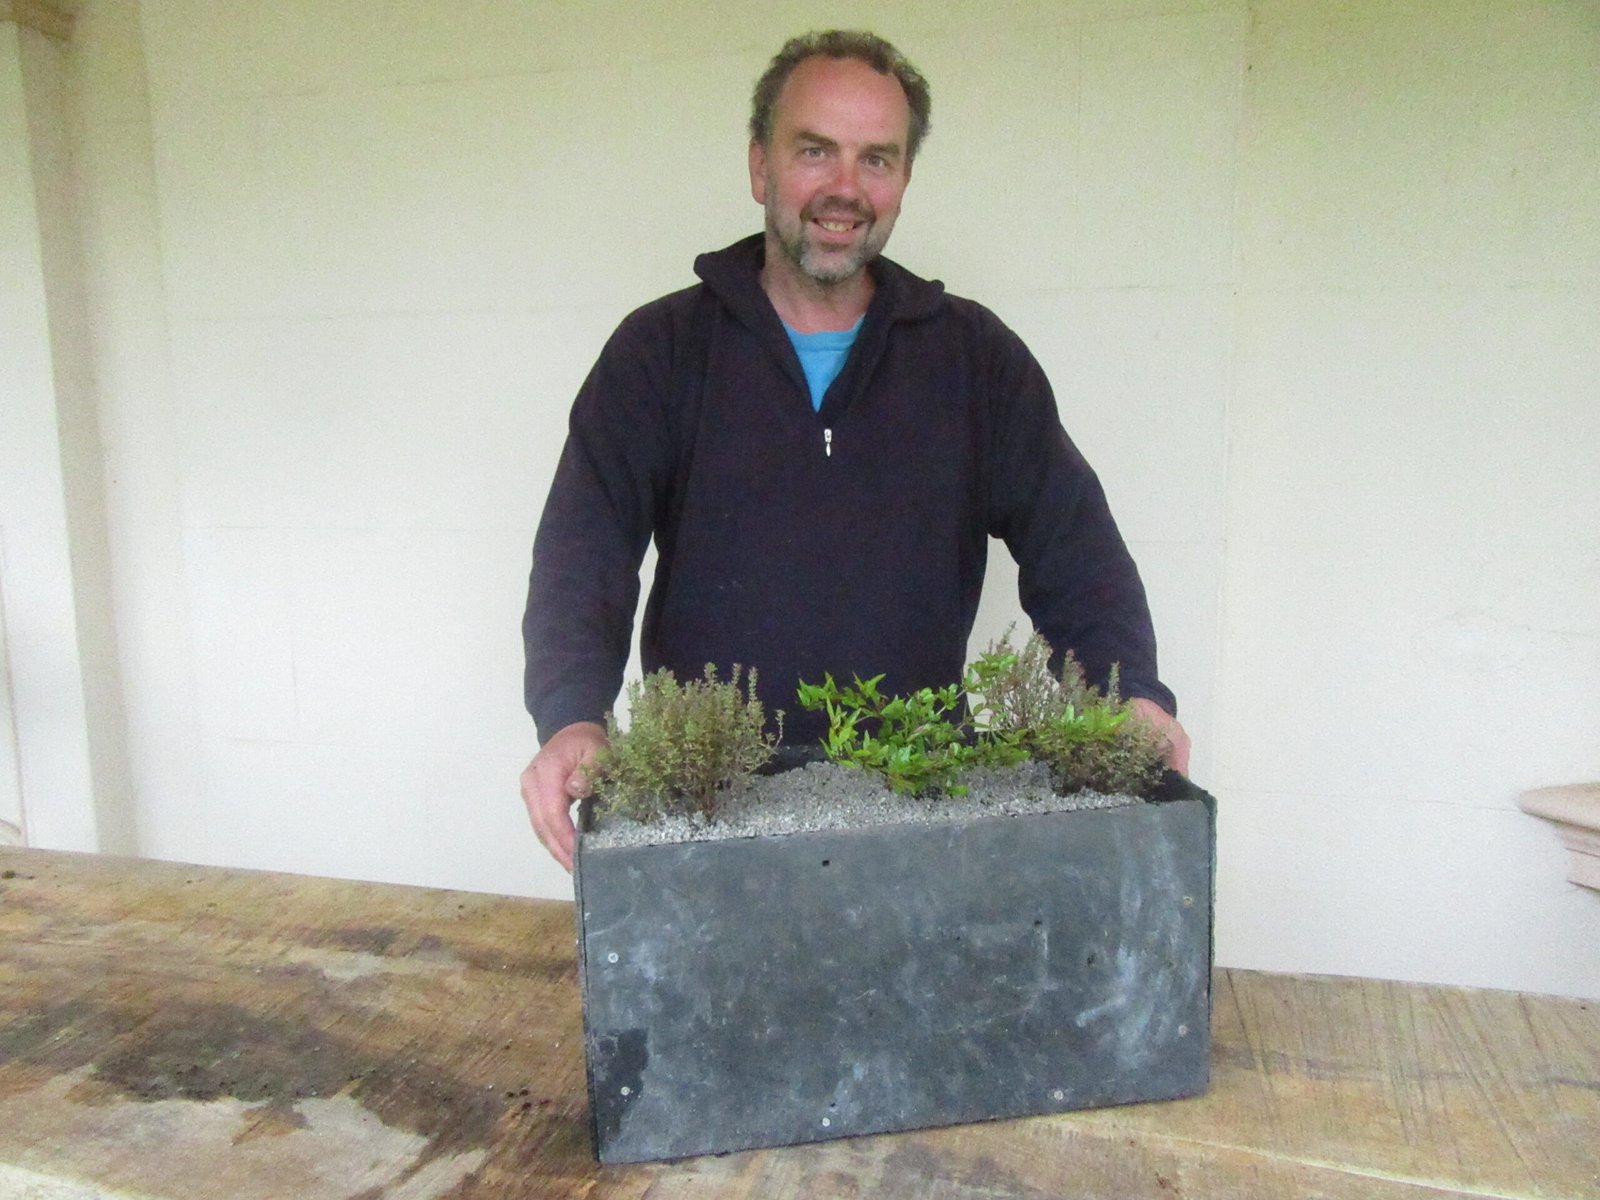
Finishing Up and Aftercare
Give your new container a good watering to settle everything in. The thyme and pomegranate are a perfect pairing for this sunny spot and should be fairly low maintenance. The slate will soak up the heat, which the pomegranate will adore, but remember that containers can dry out quickly. Check the compost with your finger every few days in warm weather, and water well when it feels dry. It’s incredibly satisfying to have created a unique, robust planter from recycled materials, and it makes for a wonderful, productive
Slate Container
DIY Planter
Container Gardening
Pomegranate Plant
Planting Thyme